Easy Clay Crafts
Air Dry Clay Leaf Dish with a Real Leaf Imprint
Press a real leaf vein-side down into a clay slab, cut around it and curve the edges into a small dish, then pick out the veins with a paint wash.
Air dry clay crafts for beginners, step by step
Beginner-friendly air dry clay tutorials with clear steps, a materials list, and plain advice on drying, painting, and sealing.
What air dry clay is, what it suits and what it is not for, how to keep an opened block soft, and the seven basic steps from kneading to sealing.
A short core kit for air dry clay, the household objects that stand in for most of it, and the tools that can wait until a project needs them.
Roll a flat, even slab of air dry clay using a non-stick surface, two guide sticks and a center-out rolling pattern, with thickness ranges for common projects.
Drying time depends on thickness, humidity, airflow and clay type. Here are typical ranges, the signs that a piece is fully dry and how to help it dry evenly.
Press a real leaf vein-side down into a clay slab, cut around it and curve the edges into a small dish, then pick out the veins with a paint wash.
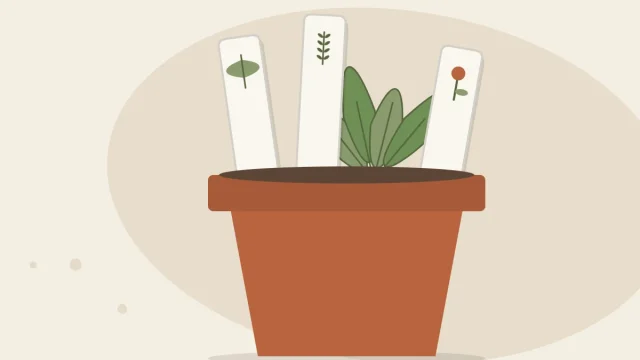
Cut pointed clay strips, stamp or paint a name on each and seal every side. An honest guide to markers that suit indoor pots and short-term use, because damp soil softens the clay even when sealed.
Cut small flat shapes from a thin slab, paint and seal them, then glue a craft magnet to the back. Includes how to match the magnet to the weight.
Roll a slab, cut a circle around a bowl and let it dry into a shallow dish for keys, rings and coins. A decorative, dry-use first project.
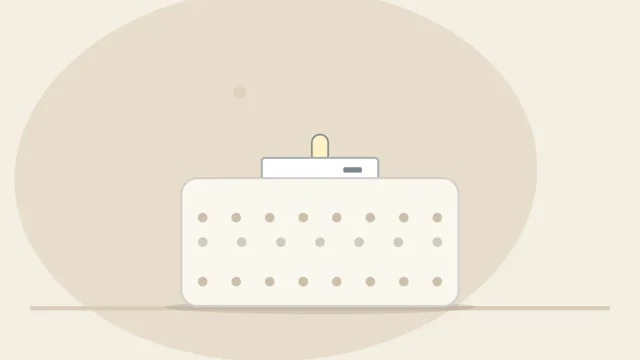
A chunky clay disc with a pressed recess sized for a battery-operated LED tea light. It is decorative only and must never be used with real flames or wax candles.
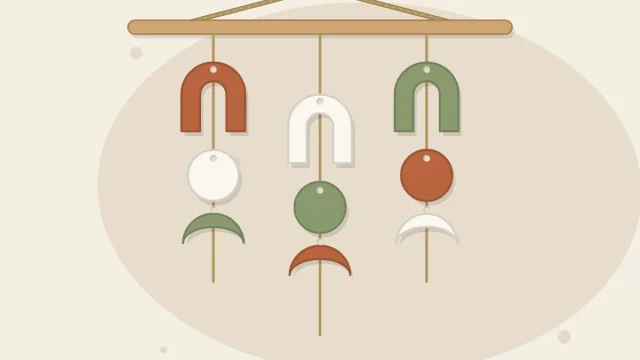
Cut arches, circles and crescents from an even clay slab, punch cord-sized holes before drying, and string three knotted strands on a wooden dowel.
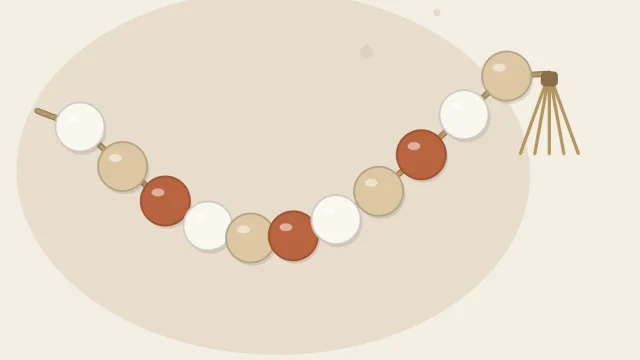
Roll matching large beads from a sliced clay log, dry them on skewers so they stay round, then string them on jute with knots and a simple tassel.
Roll a smooth cone, pinch a small dish, and join the two with scoring and slip. The thick cone needs slow drying before sanding, painting and sealing.
Thin clay tags stamped with initials or sprigs, dried flat with regular turning, washed with paint to bring out the pattern and sealed so they can be reused.
A small ring dish with a scalloped rim and a metallic-look painted edge, shaped in a bowl, sealed and packed with a care note. For dry jewelry only.
Build a bird, a sitting cat and a mushroom from balls, eggs and cones, join them with score and slip and dry them slowly. Decorative shelf pieces, not toys.
Cut solid little houses from a thick slab, give each a different roof angle, press in windows and doors, then dry them slowly and paint the roofs.
Portion equal pieces of clay, shape them into round, disc and tube beads, pierce from both sides and dry them on skewers. Decorative beads for dry use, not for young children.
Cracks come from uneven shrinkage as air dry clay loses water. Even thickness, little water and slow drying reduce the risk, and most small cracks can be repaired.
Press lace, leaves and household objects into soft air dry clay for pattern, carve lines once it firms up, and use a paint wash to make the texture show.
Smooth air dry clay in three stages: scrape and sponge while it is wet, burnish when it is firm, and sand lightly only once it is fully dry.
Roll one even slab, press in an evergreen sprig or knit texture, and cut stars, trees and circles that dry flat and store well between seasons.
Shape mini pumpkins from a grooved ball of clay with a scored-on stem, cut flat leaves with drawn veins, and paint the set in muted fall colors.
Cut flat egg and bunny shapes from a clay slab using templates you draw yourself, press in dots and stripes, paint them in pastels and hang them on branches.
A chunky clay disc with a pressed recess sized for a battery-operated LED tea light. It is decorative only and must never be used with real flames or wax candles.
Cut arches, circles and crescents from an even clay slab, punch cord-sized holes before drying, and string three knotted strands on a wooden dowel.
Roll matching large beads from a sliced clay log, dry them on skewers so they stay round, then string them on jute with knots and a simple tassel.
Start with a small dish, learn how to roll, smooth, and dry it, and move on at your own pace. Every tutorial on the site is free to read, no sign-up needed.