Air Dry Clay Easter Decorations: Hanging Eggs and Bunnies
Cut flat egg and bunny shapes from a clay slab using templates you draw yourself, press in dots and stripes, paint them in pastels and hang them on branches.
Tutorial at a glance
Materials
- Air dry clay (about a tennis-ball-sized lump for 8 to 10 decorations)
- Rolling pin and two 1/4 inch (6 mm) guide sticks
- Paper, pencil and scissors for templates
- Craft knife or needle tool
- Drinking straw and toothpick
- Pastel acrylic craft paint and brushes
- Water-based acrylic varnish
- Narrow ribbon
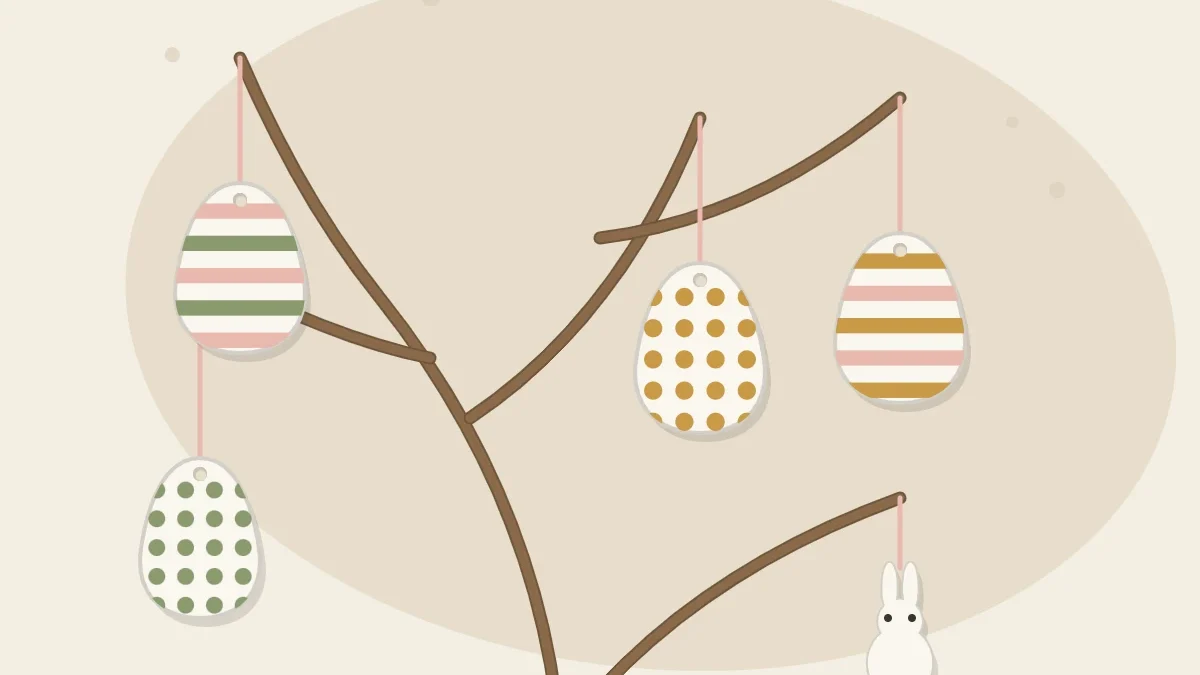
An Easter tree is just a few bare branches in a jar with light decorations tied on, and flat clay eggs are among the simplest things to hang from it. They are cut from a rolled slab around a paper template, patterned with dots and stripes, and painted in soft pastels once dry.
To be clear about what these are: flat, decorative shapes made of clay. They are not real or edible eggs, they are not for food, and they should be kept away from the candy bowl so nobody mistakes one for a treat.
What You Need
- Air dry clay, about a tennis-ball-sized lump for 8 to 10 decorations
- A rolling pin and two guide sticks about 1/4 inch (6 mm) thick
- Plain paper, a pencil and scissors for templates
- A craft knife or needle tool
- A drinking straw, a toothpick and a ruler or old card for pressing patterns
- A wire rack and fine sandpaper
- Acrylic craft paint in pastel tones, with a round brush and a fine brush
- Water-based acrylic varnish and narrow ribbon
Draw Your Own Templates
Hand-drawn templates give the set a look of its own.
- Fold a piece of paper in half. Draw half an egg against the fold, about 2 1/2 inches (6.5 cm) tall, and cut it out. Unfolded, the two sides match.
- Make a second egg slightly smaller and a third slightly wider for variety.
- For the bunny, use the same fold trick: draw half a rounded head with one long ear rising from it. Keep the ear at least 1/2 inch (12 mm) wide, since narrow ears snap easily once the clay is dry.
Simple outlines work best. Curves are easier to cut and smooth than tight inside corners, and a plain silhouette leaves room for the painted pattern.
Roll the Slab and Cut the Shapes
- Knead the clay briefly and roll it on parchment between the guide sticks to about 1/4 inch (6 mm) thick.
- Lay a template on the slab without pressing it in.
- Hold the knife upright and cut around the template in several short strokes, turning the parchment as you go so you are not twisting your wrist. An adult should handle the blade.
- Peel away the scrap clay and leave the shapes lying on the parchment.
- Smooth each cut edge with a barely damp fingertip.
If your edges come out ragged, let the slab firm up for about ten minutes before cutting; there are more fixes in how to cut air dry clay cleanly.
Press Dots, Stripes and Hanging Holes
Pressed patterns do two jobs: they look good on their own, and they give you guide lines to paint between later.

| Pattern | Tool | How to press it |
|---|---|---|
| Straight stripes | Edge of a ruler or old card | Press lightly across the egg; do not drag |
| Small dots | Blunt end of a toothpick or skewer | Press straight down in rows between the stripes |
| Larger rings | End of a drinking straw | Press only partway so it does not cut through |
| Zigzag | Corner of a card | Short angled presses that meet at the tips |
Keep the marks shallow, about 1/32 inch (1 mm). Deep grooves across a thin egg create a weak line where it may crack or snap.
Finish each piece with a hanging hole. Push the straw all the way through near the top, at least 1/4 inch (6 mm) in from the edge. On the bunny, place the hole at the top of the head between the ears, or near the tip of one ear if the ear is wide enough.
Tip
Leave two or three eggs completely smooth. A blank surface is the easiest one for painted patterns such as scattered dots or a single wide band.
Dry the Shapes Flat
Leave the shapes on the parchment until they are firm enough to lift without bending, usually a few hours. Then move them to a wire rack and turn them over several times on the first day and once or twice a day after that. Even drying on both faces reduces the risk of curling.
Dry them at room temperature with gentle airflow, out of direct sun, and do not use heat to hurry them. Pieces of this thickness are often ready in one to three days, depending on the clay and how humid the room is. Follow the instructions on your clay’s package; how long air dry clay takes to dry explains how to tell when a piece is truly dry.
Once dry, soften the edges with fine sandpaper. Sanding makes fine dust, so do it outdoors or in a ventilated spot and wipe the pieces and the table with a damp cloth. If an edge needs more work, see how to smooth air dry clay.
Paint Soft Pastel Patterns

You do not need ready-made pastel paint. Mix a small amount of any color into white until it looks soft, and mix every shade from the same white so the set hangs together.
- Wipe off any sanding dust with a dry cloth.
- Optionally paint the whole front in white or a very pale tone and let it dry. This helps later colors go on evenly.
- Paint stripes between the pressed lines with the round brush, working from the middle of the egg out to the edges.
- Add dots with the handle end of the brush dipped in paint, one dip per dot.
- For the bunny, keep it simple: a pale body color, pink inner ears and two dot eyes.
- Let the front dry, then paint the back and edges in one plain color.
Thin coats, left to dry in between, usually look cleaner than one thick coat. Brush choices and fixes for streaks are covered in how to paint air dry clay.
Seal and Hang on an Easter Tree
Brush one or two thin coats of water-based acrylic varnish over the front, back and edges, letting each side dry before you turn it. Varnish protects the paint and adds some resistance to dust and handling. It does not make the decorations waterproof.
For the tree, stand a few bare branches in a tall, heavy jar or pitcher. Use dry branches with no water in the jar, since moisture softens air dry clay even when it is sealed. Thread about 8 inches (20 cm) of ribbon through each hole, knot it into a loop and hang the heavier pieces close to the main stems, where the branches bend least.
Watch out
These decorations can look tempting to small children. Keep them out of reach, do not use them in egg hunts or mix them with real or chocolate eggs, and check the label on your clay.
After the holiday, wrap each piece in tissue and store the set in a rigid box somewhere dry so it is ready for next spring.
Frequently asked questions
Can I make clay Easter eggs without cutters?
Yes. Fold a sheet of paper, draw half an egg against the fold and cut it out for a symmetrical template, then trace around it on the slab with a craft knife.
Are these clay eggs safe to use in an egg hunt?
No. They are flat decorative pieces that can chip, are not edible and are not meant to be handled as toys or mixed with real or chocolate eggs.
How do I get pastel colors from regular acrylic paint?
Mix a small amount of color into white rather than the other way around. Using the same white for every shade keeps the whole set looking coordinated.
Why did the ears on my clay bunny break?
Narrow parts are the weakest points of a flat shape. Keeping ears at least 1/2 inch (12 mm) wide and the slab about 1/4 inch (6 mm) thick reduces the risk.