Air Dry Clay Christmas Ornaments: Stars, Trees and Circles
Roll one even slab, press in an evergreen sprig or knit texture, and cut stars, trees and circles that dry flat and store well between seasons.
Tutorial at a glance
Materials
- Air dry clay (about an orange-sized lump for 12 to 15 ornaments)
- Rolling pin and two 1/4 inch (6 mm) guide sticks
- Star, tree and round cutters
- Drinking straw
- Evergreen sprig or chunky knit fabric
- Wire rack and fine sandpaper
- Twine or narrow ribbon
- Water-based acrylic varnish
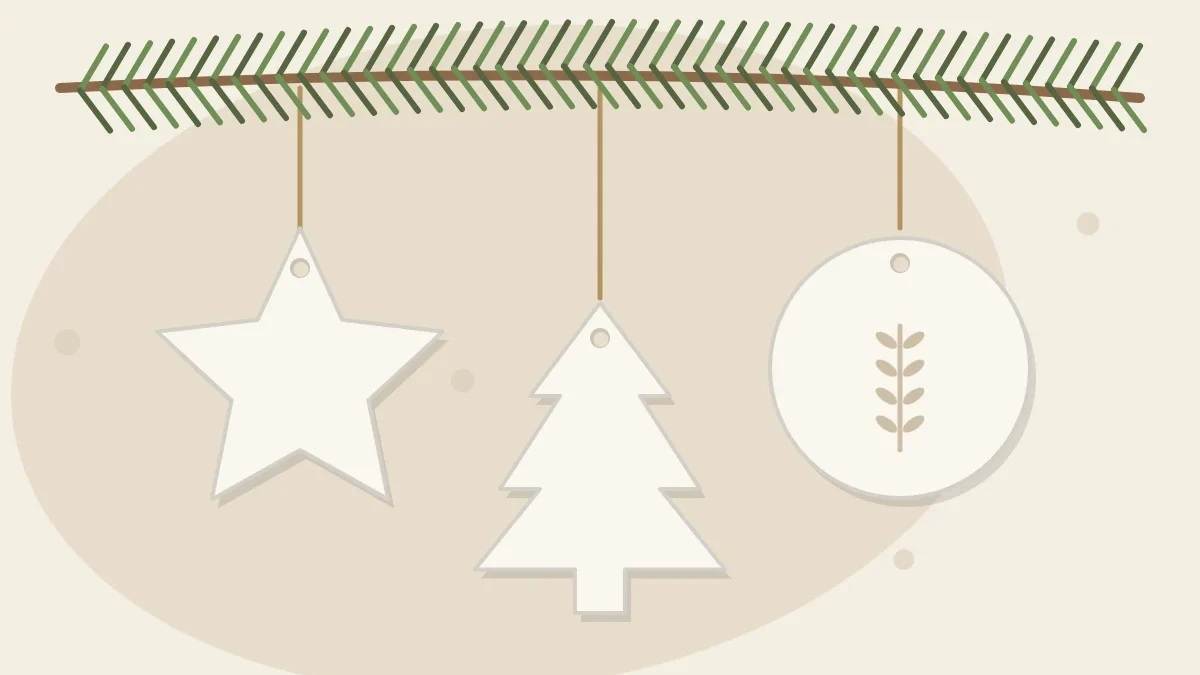
Plain white clay ornaments on a green branch need very little decoration, which makes them a forgiving first holiday project. One rolled slab gives you a dozen or more stars, trees and circles, and most of the work is waiting for them to dry flat.
Plan to start at least a week before you want them on the tree. The hands-on part fits into an afternoon, but drying, painting and sealing each need their own time.
What You Need
- Air dry clay, about an orange-sized lump for 12 to 15 ornaments
- A rolling pin and two guide sticks about 1/4 inch (6 mm) thick
- Parchment paper or a canvas mat to roll on
- Star, tree and round cutters, or paper templates and a craft knife
- A drinking straw for hanging holes
- Texture: a fresh evergreen sprig or a piece of chunky knit fabric
- A wire rack, fine sandpaper and a damp cloth
- Twine or narrow ribbon, plus optional acrylic craft paint and water-based acrylic varnish
Roll an Even Slab
Even thickness matters more for flat ornaments than for almost any other project. A slab that is thin on one side dries faster there and is more likely to curl.
- Knead the clay for a minute until it is smooth, then flatten it into a thick pancake with your palm.
- Set it on parchment between the two guide sticks.
- Roll from the center outward, turning the parchment a quarter turn every few passes, until the rolling pin rides on both sticks.
About 1/4 inch (6 mm) is a good thickness: sturdy enough to survive handling and storage, light enough for a branch. The step-by-step method is in how to roll air dry clay into an even slab.
Add Texture Before You Cut
Texture goes on first. Pressing a pattern into a shape that is already cut tends to stretch it out of true.
- Evergreen sprig: lay a small sprig on the slab and roll over it once with firm, even pressure. Lift it by the stem. The needles leave a fine branching print.
- Sweater knit: lay a clean piece of chunky knit, such as the cuff of an old sweater, on the slab and roll once. The stitches leave a cable or rib pattern.
- Plain: leave part of the slab smooth. A mix of textured and plain ornaments looks better on a tree than a full set of one kind.
Roll only once over any texture; a second pass usually blurs the print. For more ideas, including improvised stamps, see adding texture to air dry clay.
Cut Stars, Trees and Circles

- Press each cutter straight down through the slab and give it a tiny wiggle before lifting.
- Place shapes close together to waste less clay, but leave a small gap so edges stay crisp.
- Peel the scrap clay away from around the shapes and leave the shapes lying on the parchment. Lifting soft stars by hand bends their points.
- Punch a hanging hole with the straw at least 1/4 inch (6 mm) in from the edge. On a star, put it in the body just below one point, not in the tip.
- Run a barely damp fingertip around each edge to soften burrs.
- Gather the scraps, knead them together and roll again.
No cutters? Draw your own simple star and triangle tree on paper, cut them out, lay them on the slab and trace around them with a craft knife. An adult should do the knife work.
| Shape | Suggested size | Where to put the hole | Watch for |
|---|---|---|---|
| Star | 2 1/2 inches (6.5 cm) across | Below one point, in the wider part | Points bending when lifted |
| Tree | 3 inches (7.5 cm) tall | Below the tip, where the tree widens | A thin trunk snapping off |
| Circle | 2 to 2 1/2 inches (5 to 6.5 cm) | Near the top edge | Curling at the rim |
Dry Flat and Turn Often
Flat pieces curl when the top face dries faster than the face lying on the table. Turning them evens that out.
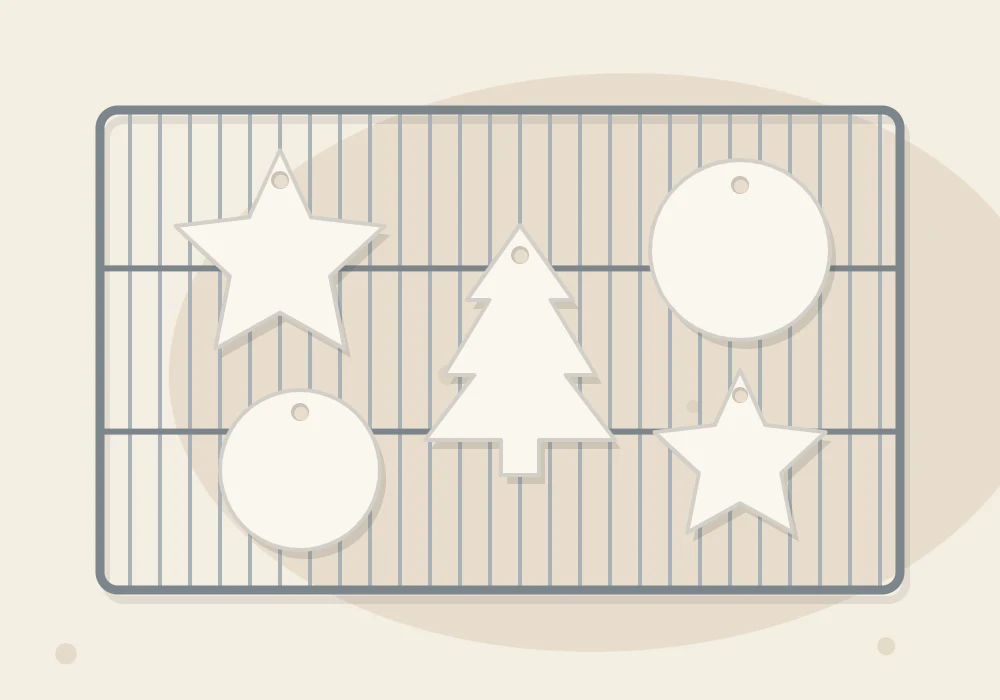
- Leave the shapes on the parchment for the first few hours, until they are firm enough to lift without flexing.
- Move them to a wire rack and flip them every few hours on the first day, then once or twice a day.
- Keep them at room temperature with gentle airflow, out of direct sun. Do not use heat to speed up drying.
Ornaments of this thickness are often dry in one to three days, depending on the clay and the humidity in the room; follow the instructions on your clay’s package. If one starts to lift at the edges while still slightly flexible, flip it and rest a light book on top with parchment in between.
Tip
Check the hanging holes while the clay is still damp. If one has closed up or filled with a crumb of clay, reopen it with the straw now. Clearing a hole in dry clay risks chipping the edge.
Sand, Decorate and Seal
When the ornaments are fully dry, smooth the edges with fine sandpaper. Sanding makes fine dust, so do it outdoors or in a well-ventilated spot and wipe everything down with a damp cloth.
From here you have three easy options:
- Leave them white. Textured ornaments often look best with no paint at all.
- Add a wash. Brush thinned acrylic paint over a sprig print, then wipe the surface with a cloth so color stays only in the impression.
- Paint details. A painted edge, a few dots or one solid color on the plain shapes.
Seal both faces and the edges with one or two thin coats of water-based acrylic varnish, letting each side dry before turning. Sealing adds some resistance to dust, fingerprints and light moisture; it does not make the ornaments waterproof. Details on finishes are in how to seal air dry clay.
Hang Them and Store Them
Thread about 8 inches (20 cm) of twine or ribbon through each hole and knot the ends into a loop. The same shapes also work tied onto presents; air dry clay gift tags shows how to stamp initials into them.
Watch out
Hang clay ornaments away from heat sources such as hot bulbs, heaters and fireplaces, and away from any flame. Air dry clay is not heat resistant, and a dropped ornament can chip or break, so place them on sturdy inner branches rather than on the tips, out of reach of young children and pets.
After the holidays, wrap each ornament in tissue paper and store them in a rigid box in a dry place, not in a damp basement or garage. Kept dry and padded, they can come back out for many seasons.
Frequently asked questions
How thick should air dry clay Christmas ornaments be?
About 1/4 inch (6 mm) works well. Much thinner and they chip or curl more easily; much thicker and they get heavy for a branch and take longer to dry.
Why are my clay ornaments curling at the edges?
One face is drying faster than the other. Moving them to a wire rack and flipping them every few hours on the first day helps keep them flat.
Do I have to paint or seal white clay ornaments?
Paint is optional, and many textured ornaments look good bare. A thin coat of varnish is still worth it because it adds some resistance to dust and fingerprints from yearly handling.
How should I store clay ornaments after the holidays?
Wrap each one in tissue paper and keep them in a rigid box somewhere dry. Damp storage areas can soften or mark air dry clay over time.