Air Dry Clay Fall Decorations: Mini Pumpkins and Leaves
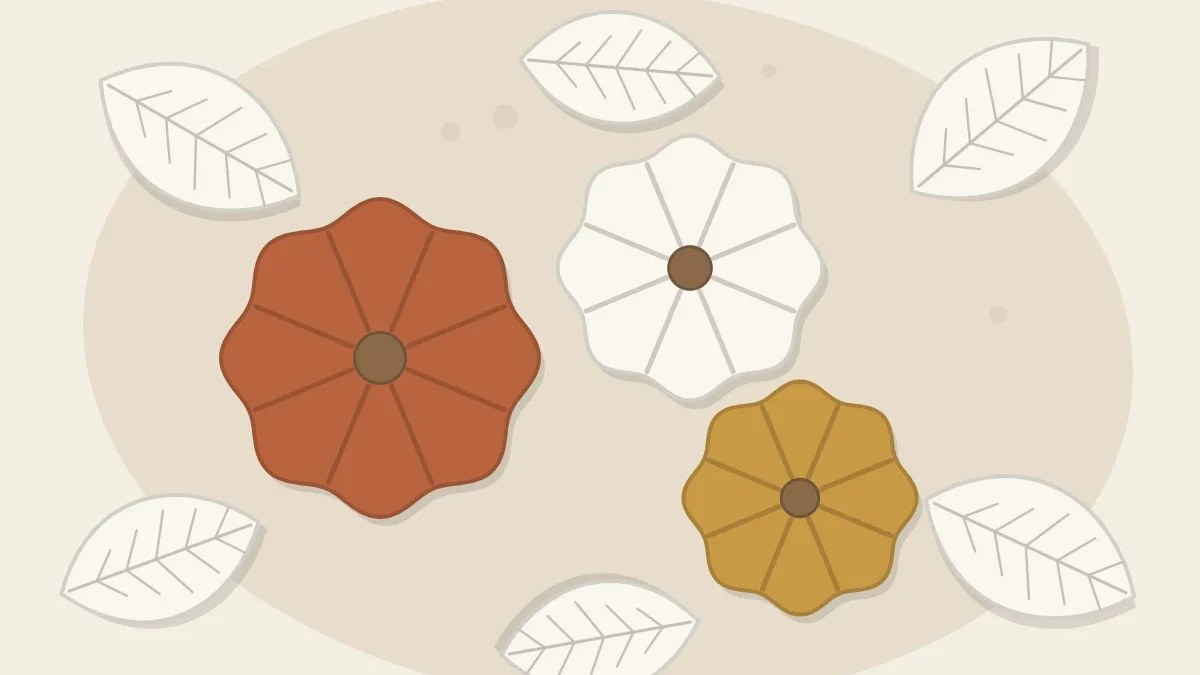
Shape mini pumpkins from a grooved ball of clay with a scored-on stem, cut flat leaves with drawn veins, and paint the set in muted fall colors.
Tutorial at a glance
Materials
- Air dry clay (about an orange-sized lump for three pumpkins and six leaves)
- Wooden modeling tool or skewer
- Toothpick or needle tool
- Rolling pin and parchment paper
- Craft knife and paper for templates
- Aluminum foil for larger pumpkins
- Acrylic craft paint and brushes
- Water-based acrylic varnish
Roll a ball, press eight grooves into it, add a stem: that is a clay pumpkin. Scatter a few flat clay leaves around three of them on a tray and you have a fall display that can come back out every year.
The pumpkins are small on purpose. A ball of solid clay dries from the outside in, so the bigger it gets, the longer the middle stays damp and the more likely the surface is to crack.
What You Need
- Air dry clay, about an orange-sized lump for three mini pumpkins and six leaves
- A wooden modeling tool, or a skewer laid on its side
- A toothpick or needle tool
- A rolling pin and parchment paper
- A craft knife and paper for leaf templates
- A cup of water and a small brush
- Aluminum foil, only if you want a larger pumpkin
- Fine sandpaper, acrylic craft paint and water-based acrylic varnish
Shape the Mini Pumpkins
- Roll a smooth ball between 1 and 1 1/2 inches (2.5 to 4 cm) across. Work out any folds now; creases tend to open as the clay dries.
- Press the ball gently onto the table so the base flattens and the shape turns slightly squat, wider than it is tall.
- Push a fingertip into the top to make a shallow dimple for the stem.
- Lay the side of the modeling tool against the ball and press a groove from the dimple down to the base.
- Press a second groove directly opposite, then two more halfway between, then fill in the gaps until you have eight ribs.
- Round each rib with a barely damp fingertip so the sections look plump, not sliced.

Make the three pumpkins slightly different: one a little flatter, one taller, one with deeper grooves. A matched set looks stiff. The ball and coil basics behind these forms are explained in how to shape air dry clay.
Join the Stem So It Stays Put
A stem pressed onto smooth clay often pops off once everything has dried. Scoring gives the two surfaces something to grip.
- Roll a short, stubby cone about 3/8 inch (1 cm) tall. Bend it slightly and drag the toothpick down its sides for a woody texture.
- Scratch crossing lines into the base of the stem and into the dimple on the pumpkin.
- Dab both with a damp brush or a little slip.
- Press the stem in with a small twist, then blend the clay at its base into the pumpkin with the toothpick.
Keep the stem thick. A thin, curly stem looks good but snaps easily. There is more on scoring and slip in how to join air dry clay pieces.
Going Bigger: Use a Foil Core
For a pumpkin larger than about 1 1/2 inches (4 cm), do not make it solid. Crumple aluminum foil into a firm ball a little smaller than the size you want, then wrap it in a clay layer about 1/4 inch (6 mm) thick.
- Roll a slab, drape it over the foil ball and gather it underneath.
- Trim the excess and smooth the seams until the surface is even, with no thin patches.
- Press the grooves gently so the tool does not cut through to the foil.
The foil stays inside, and the even clay wall tends to dry more evenly than a solid lump.
| Pumpkin size | Build method | Why |
|---|---|---|
| Up to 1 1/2 inches (4 cm) | Solid ball | Small enough to dry through in a reasonable time |
| 1 1/2 to 3 inches (4 to 7.5 cm) | Clay over a foil core | Even wall thickness, less clay, lighter piece |
| Larger than 3 inches (7.5 cm) | Foil core, but save it for later | Harder to keep even; better as a second attempt |
Cut Flat Leaves and Draw the Veins
- Roll a slab about 1/4 inch (6 mm) thick on parchment.
- Draw two or three simple leaf outlines of your own on paper, 2 to 3 inches (5 to 7.5 cm) long: a pointed oval, a rounded lobed leaf, a narrow willow shape. Cut them out as templates.
- Lay a template on the slab and cut around it with the craft knife held upright. An adult should handle the blade.
- Smooth the cut edges with a damp fingertip.
- Score a center vein from stem to tip with the needle tool, then add side veins angled toward the tip.

Score lightly. A vein cut more than halfway through a thin leaf becomes the line where it breaks. If you would like real vein detail instead of drawn lines, the air dry clay leaf dish tutorial shows how to press an actual leaf into a slab.
Tip
For leaves with a gentle curl, let them dry draped over a crumpled sheet of parchment instead of lying flat. Keep the curve shallow so they still sit steadily on a tray.
Dry Slowly and Turn
Set everything on parchment at room temperature with gentle airflow, out of direct sun. Do not use heat to speed things up. Turn the leaves over a few times on the first day to limit curling, and roll the pumpkins onto a different side once or twice a day so the base is not left damp.
Leaves are often dry within one to two days. Solid pumpkins usually need longer, commonly three to five days, depending on the clay, their size and the humidity, so follow the instructions on your clay’s package. If a small crack shows up along a groove, how to prevent air dry clay from cracking covers the repair.
Paint in Muted Fall Colors
Lightly sand any rough spots once the pieces are fully dry. Sanding makes fine dust, so do it outdoors or in a ventilated spot and wipe up with a damp cloth.
Muted tones look more natural than bright orange: terracotta, mustard, cream, sage and a dusty brown for the stems. To soften any color, mix in a little white and a touch of brown. Paint two thin coats, then brush a slightly darker, thinned shade into the pumpkin grooves and leaf veins and wipe the raised areas with a cloth to bring out the texture.
Seal every surface, including the base, with one or two thin coats of water-based acrylic varnish. This adds some resistance to dust and handling but does not make the pieces waterproof.
Style Them on a Tray or Shelf
Group the pumpkins off center on a wooden tray, tuck the leaves partly underneath them and add a few dry natural pieces such as pinecones or acorns. On a shelf, a loose line of pumpkins in mixed colors with leaves between them works well.
Safety note
Keep the display away from heat and open flames, including fireplaces, heaters and stovetops. Air dry clay is not heat resistant, and these pieces are for decoration only, in a dry indoor spot. Mini pumpkins are small parts, not toys, so keep them out of reach of young children and pets.
Frequently asked questions
Why did my clay pumpkin crack as it dried?
Solid balls dry from the outside in, and the stress can open cracks, especially along deep grooves. Keeping pumpkins small, drying them slowly and turning them reduces the risk.
How do I make a bigger clay pumpkin?
Crumple aluminum foil into a firm ball and cover it with an even layer of clay about 1/4 inch (6 mm) thick. The foil stays inside and the piece uses less clay than a solid one.
How do I keep the stem from falling off?
Score both the stem base and the dimple on the pumpkin, dampen them or add slip, press the stem in with a twist and blend the clay at the join.
Can I put clay pumpkins on the porch?
No. Keep them indoors in a dry spot. Air dry clay softens with moisture, and varnish does not make it weatherproof.