Air Dry Clay Cracking: How to Reduce the Risk and Repair Cracks
Cracks come from uneven shrinkage as air dry clay loses water. Even thickness, little water and slow drying reduce the risk, and most small cracks can be repaired.

Air dry clay shrinks as it dries. That one fact explains nearly every crack you will meet, and it also points to the habits that make cracks less likely. To be plain from the start: no method can promise a crack-free piece. What you can do is lower the odds, and repair the cracks that still turn up.
Why Air Dry Clay Cracks
Wet clay is full of water. As that water evaporates, the clay particles move closer together and the piece gets slightly smaller. If the whole piece shrank at the same speed, cracks would be far less likely. In practice, some areas dry faster than others: thin edges before thick centers, the top before the underside, the outside of a lump before its core.
The fast-drying area shrinks and stiffens while its neighbor is still swollen with water. The stiff part cannot stretch, so it tears. Cracks most often appear at rims, at joins, around holes and wherever the thickness changes suddenly.
| What you see | Likely cause | What helps next time |
|---|---|---|
| Short cracks running in from the edge | The rim dried much faster than the middle, or was stretched thin | Compress the rim; cover the piece loosely for the first day |
| Fine web of surface cracks | Too much water used on the surface | Smooth with a barely damp fingertip or sponge |
| Crack along a seam | Parts joined without scoring, or at different moisture levels | Score, slip and blend every join |
| Deep crack in a thick area | A solid lump dried on the outside first | Hollow the form or build over a core; dry slowly |
| Crack across a flat piece that also curled | One side dried faster than the other | Dry on a rack and turn the piece regularly |
Build Habits That Reduce the Risk
Keep the thickness even
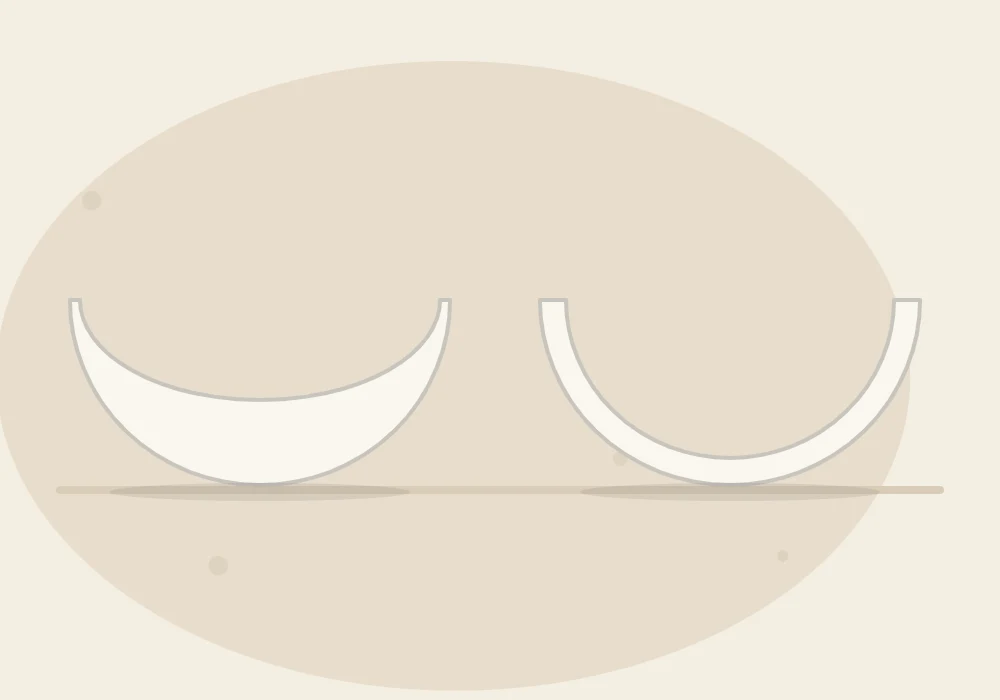
Uneven thickness is one of the most common causes of cracking in beginner pieces. Thin rims on thick bases, or a slab thicker on one side, dry at different speeds. Roll slabs between guide sticks, as described in the tutorial on rolling an even slab, and check pinched walls by feel as you go. For most small projects, about 1/4 inch (6 mm) is a forgiving thickness.
Use as little water as you can
Water added to the surface has to leave again, and the wetter the surface, the more it shrinks compared with the clay underneath. Dampen a fingertip instead of wetting the piece, and wring sponges out hard. If the clay itself feels dry and crumbly, knead in a few drops of water before you start shaping rather than fixing the surface later.
Compress the clay
Compressing means pressing clay together instead of stretching it. Run a flexible card or a rib firmly over slabs after rolling, and pinch rims gently between your fingers while sliding along them. Stretched clay has tiny weak spots that tend to open during drying; compressed clay is denser and holds together better.
Join parts properly
Added parts shrink on their own unless they are truly attached. Scoring, slip and a blended seam, covered in the guide on joining air dry clay pieces, help the parts move as one.
Drying Habits That Help
How a piece dries matters as much as how it was made. The goal is slow and even, not fast.
- Dry at room temperature. Keep pieces away from direct sun, radiators and strong drafts, all of which dry one side or the surface too quickly.
- Give both sides air. A wire rack lets air reach the underside. On a solid surface, the top dries first and the piece is more likely to curl and crack.
- Turn flat pieces. Flip slabs, ornaments and tags every few hours on the first day, once they are firm enough to handle.
- Slow down thin edges. Drape a piece of plastic or a lightly damp cloth over thin edges or over the whole piece for the first day, so thick areas can catch up.
- Be patient. Do not try to speed things up with heat. Follow the instructions on your clay’s package.
Drying time varies a lot with thickness, humidity and the type of clay. The guide on how long air dry clay takes to dry explains the typical ranges and the signs that a piece is ready.
Watch out
Even with every habit on this page, a crack can still appear. Clay type, room humidity and the shape of the piece all play a part. Treat cracks as a normal part of working with air dry clay, not as a sign of failure.
How to Repair a Hairline Crack
Thin surface cracks are usually easy to fix once the piece is dry.
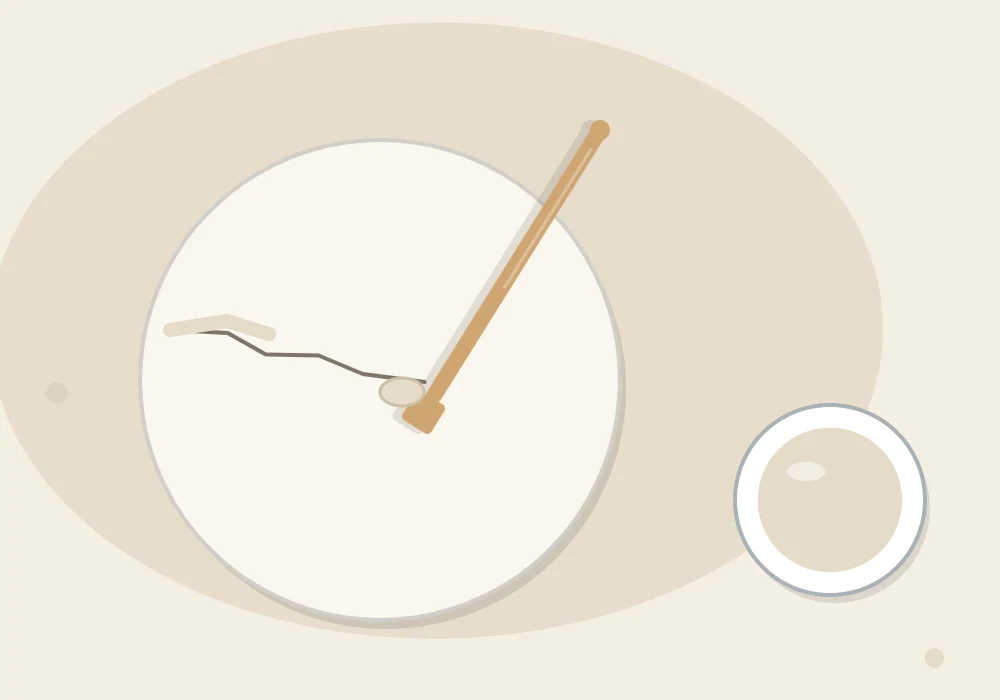
- Make a thick paste. Mash a small piece of the same clay with a few drops of water until it is like soft cream cheese. A thicker paste shrinks less than runny slip.
- Dampen the crack. Touch the crack with a slightly damp brush so the dry clay does not pull water out of the paste straight away.
- Press the paste in. Use a small modeling tool or a toothpick to push paste down into the crack, then leave it slightly raised above the surface.
- Let it dry slowly. Leave the repair at room temperature until it matches the color of the rest of the piece. If the fill sinks or reopens, add a second thin layer.
- Level the surface. When fully dry, sand the repair flush with fine sandpaper.
Sanding makes fine dust, so do it outdoors or in a ventilated spot and wipe up with a damp cloth afterward. The tutorial on sanding air dry clay covers grits and technique.
Repairing Larger Cracks
A crack wide enough to see into needs fresh clay, not just paste. Widen the crack slightly into a shallow V with a toothpick so the filler has something to hold. Dampen the inside, brush in a little slip, then press in a thin roll of soft clay and blend the edges outward onto the dry surface. Cover the repair loosely with plastic for a few hours so it dries slowly, then uncover it and let it finish.
Tip
Fresh clay shrinks against dry clay, so big fills often need a second pass. Fill, dry, check, and top up with paste before sanding.
A repaired piece is fine for display, and paint hides most fills. It will not be as strong as an uncracked piece, so handle it gently.
When to Start Over
Some cracks are not worth chasing. Consider remaking the piece if:
- The crack goes all the way through and the piece flexes or separates along it
- Several cracks meet, or new ones keep opening after each repair
- The crack runs through a hanging hole or another spot that carries weight
- The piece also warped so badly that it no longer sits flat
Starting again is quicker than it sounds: note where the piece cracked and adjust the thickness, water or drying setup there.
Frequently asked questions
Is it normal for air dry clay to crack?
Yes, small cracks are common, especially at edges and joins. Good habits lower the chances, but no method rules cracks out: clay type, humidity and shape all affect the result.
Can I fix a crack after the clay has dried?
Usually, yes. Hairline cracks can be filled with a thick paste made from the same clay and a little water, then left to dry and sanded flush.
Does adding more water stop clay from cracking?
No, extra water on the surface tends to make cracking more likely because the wet layer shrinks more as it dries. Use just enough to keep the clay workable.
Should I cover my piece while it dries?
A loose plastic cover for the first day can help thick and thin areas dry at a more similar pace. Remove it afterward so the piece can finish drying in open air at room temperature, never with added heat.