How to Smooth Air Dry Clay Before and After It Dries
Smooth air dry clay in three stages: scrape and sponge while it is wet, burnish when it is firm, and sand lightly only once it is fully dry.

Tutorial at a glance
Materials
- Air dry clay (any shaped piece; about a golf-ball-sized lump for practice)
- Shaped air dry clay piece
- Small cup of water
- Soft fine-pored sponge
- Flexible rib or old plastic card
- Wooden modeling tool or an old spoon kept only for crafts
- Fine sandpaper, 220 to 400 grit
- Soft cloth
Fingerprints, tiny dents and ragged rims are easy to ignore on soft clay and impossible to ignore once the piece is dry and painted. Smoothing is not one job done at the end. It happens at three moments, wet, firm and dry, and each has its own tools and its own limits.
What You Need
- Your shaped clay piece
- A small cup of water
- A soft, fine-pored sponge
- A flexible rib, or an old plastic gift card or loyalty card
- A wooden modeling tool or the back of an old spoon kept only for crafts
- Fine sandpaper, around 220 to 400 grit, for the dry stage
- A soft cloth for wiping away dust
You do not need everything on the list for every project. For a simple flat ornament, a fingertip, a card and a sponge do most of the work. The guide to air dry clay tools has more household stand-ins.
Smoothing While the Clay Is Wet
Soft clay is the easiest to move, so this is the time to deal with big flaws: lumps, creases, deep fingerprints and uneven edges.
- Scrape first. Hold a flexible rib or old card at a low angle and pull it across flat areas in long, overlapping strokes. This levels high spots and presses the surface tight without adding any water.
- Dampen one fingertip. Dip a finger in water and touch it to the rim of the cup so it is damp, not dripping. Rub small circles over dents and prints until they close.
- Follow with the sponge. Wet the sponge, squeeze it out hard, and wipe lightly in one direction. It should leave the clay looking satin, never shiny or wet.
- Stop early. When the surface looks even, leave it alone. Overworked wet clay turns sticky and starts picking up new marks.
How Much Water Is Too Much?
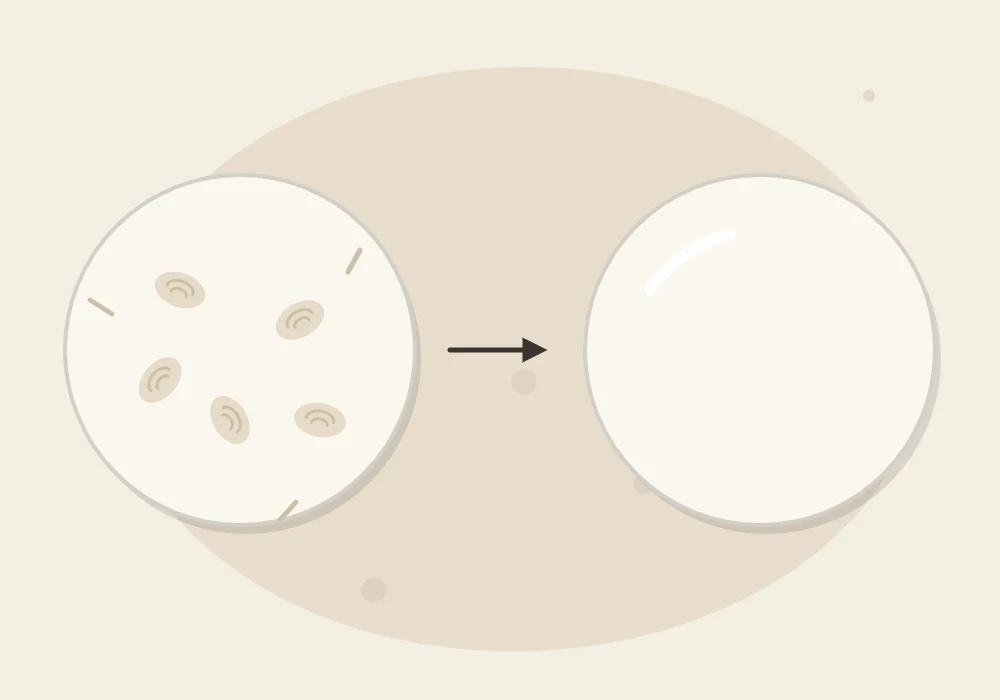
Water makes smoothing feel effortless, which is exactly why it is easy to overdo. Extra water soaks into the surface, and that wet layer shrinks more than the clay beneath it as it dries. The result is often fine surface cracks, a rough or fuzzy texture on paper-based clays, or a soft spot that slumps.
Signs you have used too much:
- The surface is glossy or has standing water on it
- Cloudy, muddy water collects around your fingers
- The clay feels slimy and sticks to your hands
- Edges start to sag or lose their shape
If that happens, stop, blot gently with a dry sponge or paper towel and let the piece sit uncovered for about 10 to 15 minutes before touching it again.
Watch out
Never smooth by dipping the piece in water or brushing water over the whole surface. Too much water is one of the most common reasons air dry clay cracks as it dries.
Compressing Rims and Removing Fingerprints
Rims and edges are thinner than the rest of a piece, dry first and show flaws the most. Compressing them, which means pressing the clay together rather than stretching it, makes them neater and less likely to split.
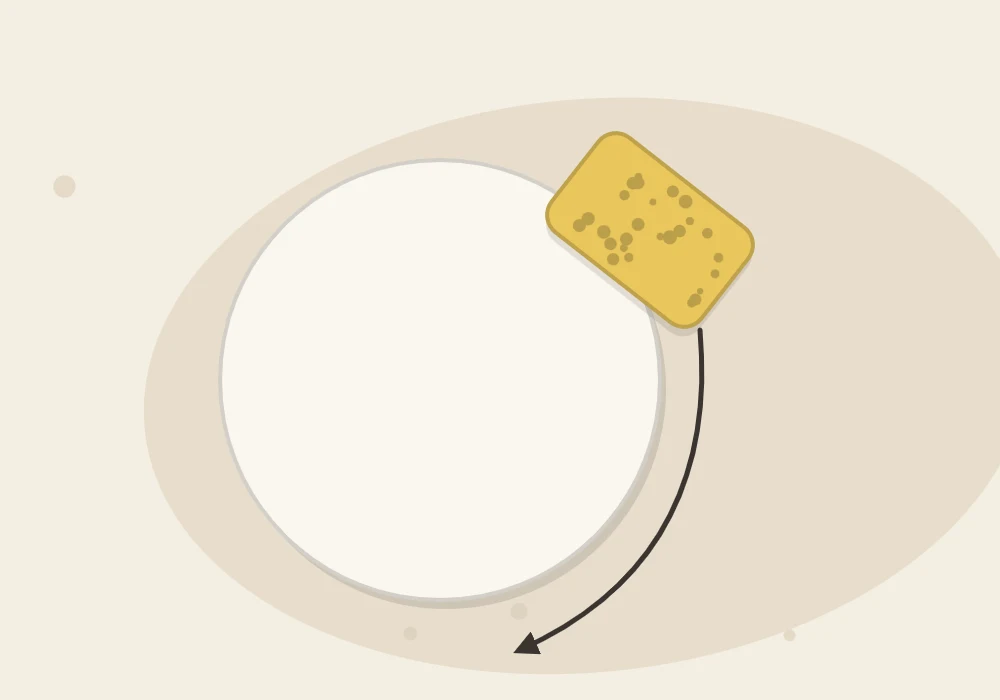
Pinch the rim lightly between a thumb and forefinger while a fingertip of your other hand rests on top, then slide around the whole edge. Finish by running a well-squeezed sponge along the rim in one direction. For cut shapes, a damp fingertip stroked along the edge softens the sharp corner left by a cutter or blade.
Fingerprints mostly come from handling the piece after you have smoothed it. A few habits help:
- Work on a piece of parchment so you can turn and move the piece without touching it
- Smooth the areas you hold last
- Roll a smooth round object, such as the side of a marker, lightly over flat areas with stubborn prints
Smoothing at the Leather-Hard Stage
After a while, usually somewhere between 30 minutes and a few hours depending on thickness and the room, the clay becomes firm but still cool and slightly damp. Potters call this leather-hard. The piece holds its shape when you pick it up, yet the surface can still be refined.
This is the best moment for a clean finish. Rub the surface with the back of a spoon or a smooth wooden tool in small circles to press down the grain, a technique called burnishing. A sponge with almost no water in it tidies edges without leaving trails. Small bumps can be shaved away by scraping gently with the edge of a card. Because the clay is firmer, you are far less likely to add new dents.
Tip
Check your surface under a lamp or window light shining from the side. Low, raking light shows dents and ridges that are invisible from straight above.
Dry Smoothing with Fine Sandpaper
Sanding is the last step, and only for clay that is completely dry: lighter in color, even in tone and no longer cool to the touch. Use fine sandpaper with light pressure and small circular strokes, and let the paper do the work. The less you left to fix at the wet and firm stages, the less sanding you need.
Sanding creates fine dust, so do it outdoors or in a well-ventilated spot, and wipe the piece and your work surface with a barely damp cloth afterward rather than blowing the dust away. The full process, including grit choices, is in the tutorial on how to sand air dry clay.
Wet, Firm or Dry: Which Stage Fixes What
| Stage | Best tools | Good for | Main risk |
|---|---|---|---|
| Wet (just shaped) | Card or rib, damp fingertip, squeezed sponge | Lumps, creases, deep prints, rough edges | Too much water, new fingerprints |
| Firm (leather-hard) | Back of a spoon, wooden tool, nearly dry sponge | Fine marks, rims, an even satin surface | Pressing hard enough to distort the shape |
| Dry | Fine sandpaper, soft cloth | Small ridges, sharp edges, final polish | Dust, and sanding through thin areas |
Aim to do most of the work in the first two stages. A piece that goes onto the drying rack smooth needs only a light touch-up later, and it gives you a much better surface when you move on to painting air dry clay. Smoothing with little water also supports the habits described in the guide on reducing the risk of cracks, though no technique rules them out completely.
Frequently asked questions
Can I smooth air dry clay with just water and my fingers?
Yes, a barely damp fingertip handles most small dents and prints. Keep the amount of water tiny, because a wet surface is more likely to crack or turn rough as it dries.
What is the leather-hard stage?
It is the point where the clay is firm enough to hold its shape but still slightly damp and cool. The surface can be burnished and tidied then with much less risk of new dents.
Why does my clay look fuzzy after smoothing with a sponge?
Some clays contain paper fibers that lift when the surface gets too wet or is rubbed too much. Use a drier sponge and fewer strokes, then knock back any fuzz with fine sandpaper once the piece is dry.
Do I still need to sand if I smooth carefully?
Often only a little, and sometimes not at all. Careful work at the wet and firm stages usually leaves just edges and small ridges to touch up.