How to Paint Air Dry Clay: Paints, Prep and Clean Coats
Which paints suit air dry clay, how to prep a dry piece, and how to build color in thin coats without streaks or a tacky finish.
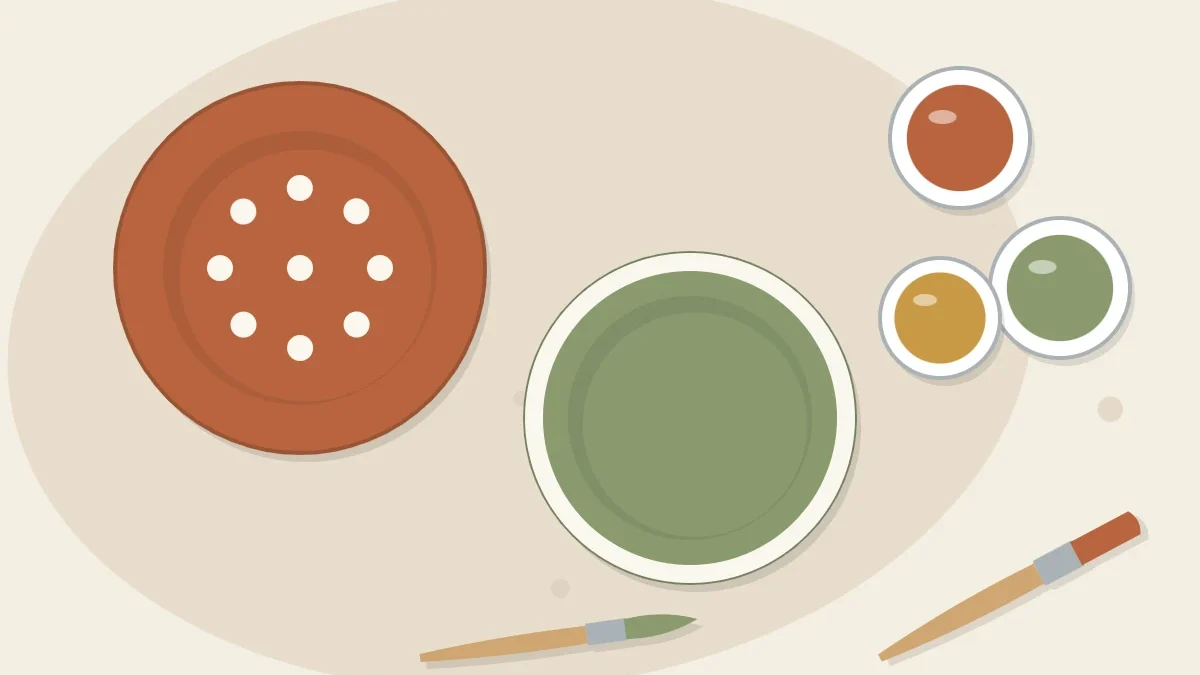
Tutorial at a glance
Materials
- Fully dry clay piece
- Acrylic craft paint in two or three colors
- Flat, round and fine detail brushes
- Palette or old saucer kept for crafts
- Cup of water and paper towel
- Fine sandpaper and a soft dry brush
- Optional acrylic gesso or white paint for a base coat
Paint goes onto air dry clay easily, which is exactly why it is tempting to start too early. A piece that still holds moisture inside can leave paint patchy, tacky or prone to peeling later. Good results come down to three things: clay that is dry all the way through, a clean surface, and several thin coats instead of one heavy one.
Wait Until the Clay Is Fully Dry
Dry clay looks lighter and more even in color than damp clay, and it no longer feels cool against your skin. Thin pieces often reach that point in a day or two; thicker pieces can need several days. Humidity and airflow change the timing a lot, so treat any number as a rough guide and follow the instructions on your clay’s package. If you are unsure, check the signs described in how long air dry clay takes to dry before you open the paint. When in doubt, give the piece one more day at room temperature.
What You Need
- A fully dry clay piece
- Acrylic craft paint in two or three colors
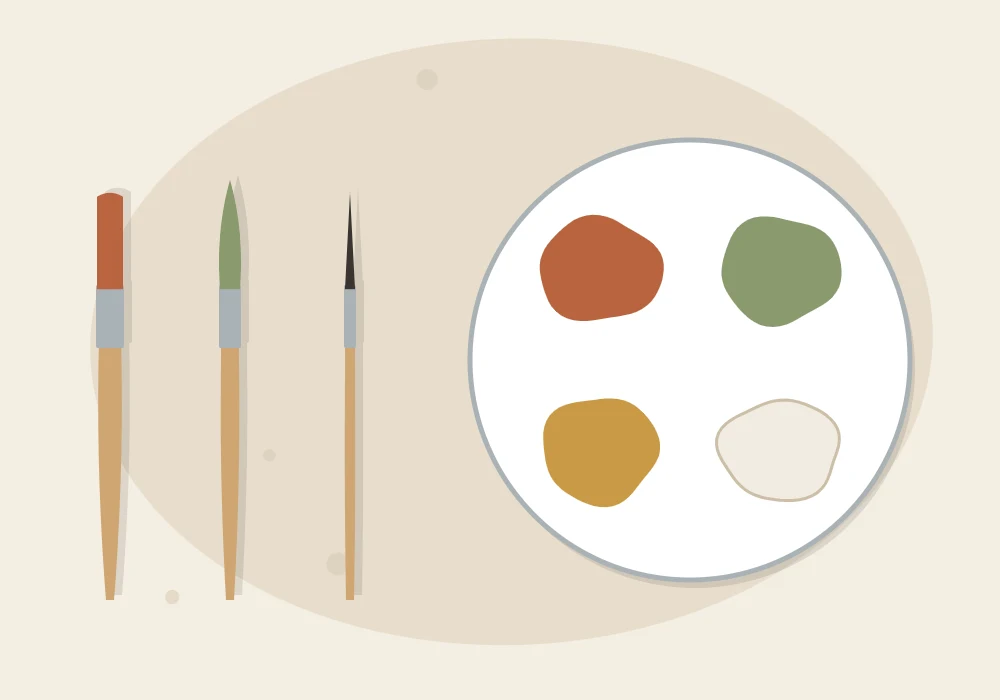
- A flat brush, a round brush and a fine detail brush
- A palette or an old saucer kept only for crafts
- A cup of water and a paper towel
- Fine sandpaper and a soft, dry brush or cloth
- Optional: acrylic gesso or white acrylic paint for a base coat
- Scrap paper or a mat to protect the table
Which Paint Works on Air Dry Clay
Acrylic craft paint is the usual choice. It is water-based, covers well, dries fairly quickly and comes in matte, satin and metallic-look finishes. Other options work too, and each gives a different look.
| Paint | Look | Good for | Keep in mind |
|---|---|---|---|
| Acrylic craft paint | Opaque, solid color | Most projects, base colors and patterns | Use thin coats; thick paint shows brush marks |
| Watercolor-style wash | Soft and translucent | Bringing out texture and impressions | Adds water to the clay, so use it sparingly and let it dry well |
| Acrylic paint pens | Crisp lines and dots | Outlines, lettering, small details | Work best over a dry base coat; press lightly |
| Acrylic gesso | Flat white ground | Evening out the surface before color | Optional; adds one extra drying step |
Prep the Surface First
Paint highlights every bump and fingerprint instead of hiding it. If you want a smooth finish, sand the dry clay lightly with fine sandpaper before painting. Sanding makes fine dust, so do it outdoors or in a well-ventilated spot and wipe up with a damp cloth afterward.
Then dust the piece itself. A soft, dry brush gets into corners, and a barely damp cloth lifts what is left. Give the surface a few minutes to dry again. Dust left behind mixes into the first coat and leaves it gritty.
A base coat is optional but useful. Bare clay is absorbent, so the first layer of color tends to sink in and look dull. One thin layer of gesso or white acrylic paint gives later colors an even, brighter ground, which helps most with pale shades over gray or earthy clay.
How to Paint Air Dry Clay Step by Step
- Set up. Cover the table and squeeze out small amounts of paint. Acrylic dries on the palette quickly, so add more as you go.
- Apply the base coat, if using one. Brush it on thinly and let it dry to the touch.
- Load the brush lightly. Dip only the tip of the bristles and wipe the excess on the palette edge.
- Paint the first coat. Use a flat brush and long strokes in one direction. Expect it to look streaky. Resist going back over paint that has started to dry, because that drags it into ridges.
- Let it dry. A thin coat is often touch-dry in 15 to 30 minutes, depending on how thick it is and how humid the room is.
- Add a second coat. Brush across the direction of the first coat. Pale colors may need a third.
- Paint the edges and back. Once the front is dry, turn the piece over onto clean paper and finish the other side.
- Add details last. Switch to the round or detail brush, or a paint pen, for patterns over the dry base color.
- Leave it to dry fully. Overnight is a sensible minimum before you seal or handle the piece much.

Tip
If the paint feels stiff, thin it with a drop or two of water and mix well. More water than that makes it soak into the clay and weakens the color.
Easy Patterns for Beginners
A simple round dish makes a good practice surface; the trinket dish tutorial gives you one to work on. All of these go over a dry base color.
- Dots: dip the end of a brush handle or a cotton swab in paint and press it straight down.
- Stripes: press low-tack tape onto the dry base coat, paint between the strips and peel the tape while the paint is still slightly wet.
- Dipped edge: tape a straight line across the piece and paint one side for a color-block look.
- Rims: hold the round brush still against the edge and turn the piece, not your wrist.
- Speckles: flick thinned paint from a stiff brush. Shield the table first, because the spray travels.
Common Painting Problems and Fixes
| Problem | Likely cause | What to try |
|---|---|---|
| Streaks | Too few coats or paint that is too thick | Thin the paint slightly and add another coat in the crossing direction |
| Paint soaks in and looks patchy | Bare, absorbent clay | Use a base coat, or accept that the first coat acts as one |
| Finish stays tacky | Clay still damp inside, heavy coats or a humid room | Leave the piece in a dry, airy room for longer; use thinner coats next time |
| Raised brush marks | Brushing over half-dry paint | Let it dry, smooth it lightly with fine sandpaper in a ventilated spot, wipe with a damp cloth and repaint |
| Gritty surface | Sanding dust left on the clay | Dust and wipe the piece before the first coat |
Paint Is Decoration, Not Protection
Paint changes the color of a piece, not what it is made of. Painted air dry clay still softens if it sits in water, and acrylic paint does not make it waterproof. Painted pieces are not food safe either, so keep them for dry, decorative use: rings, keys, shelf displays, ornaments.
Acrylic paint on its own can scuff and pick up fingerprints. A clear varnish over the dry paint adds some resistance to dust, handling and light moisture; it makes a piece water-resistant at best, not waterproof. The options and their limits are covered in how to seal air dry clay.
Watch out
Do not try to hurry clay or paint along with heat. Let both dry at room temperature with gentle airflow; forcing the process tends to cause cracks, warping and blistered paint.
Frequently asked questions
Can you paint air dry clay before it is dry?
It is better to wait. Moisture still leaving the clay can make paint patchy, tacky or likely to peel, so let the piece dry fully at room temperature first.
Do you need to prime air dry clay before painting?
No, but a thin base coat of gesso or white acrylic helps. Bare clay is absorbent, and a base coat gives later colors a brighter, more even ground.
How many coats of paint does air dry clay need?
Usually two thin coats, and sometimes three for pale colors. Thin coats that dry in between look smoother than one thick coat.
Does paint make air dry clay waterproof?
No. Paint is decoration only, and painted air dry clay still softens with water. A clear sealer on top is water-resistant at best. Keep painted pieces dry, decorative and away from food and drink.

