How to Sand Air Dry Clay for a Smooth Finish
Sand air dry clay only when it is fully dry, work from medium to fine grit, and control the dust by working outdoors and wiping up with a damp cloth.
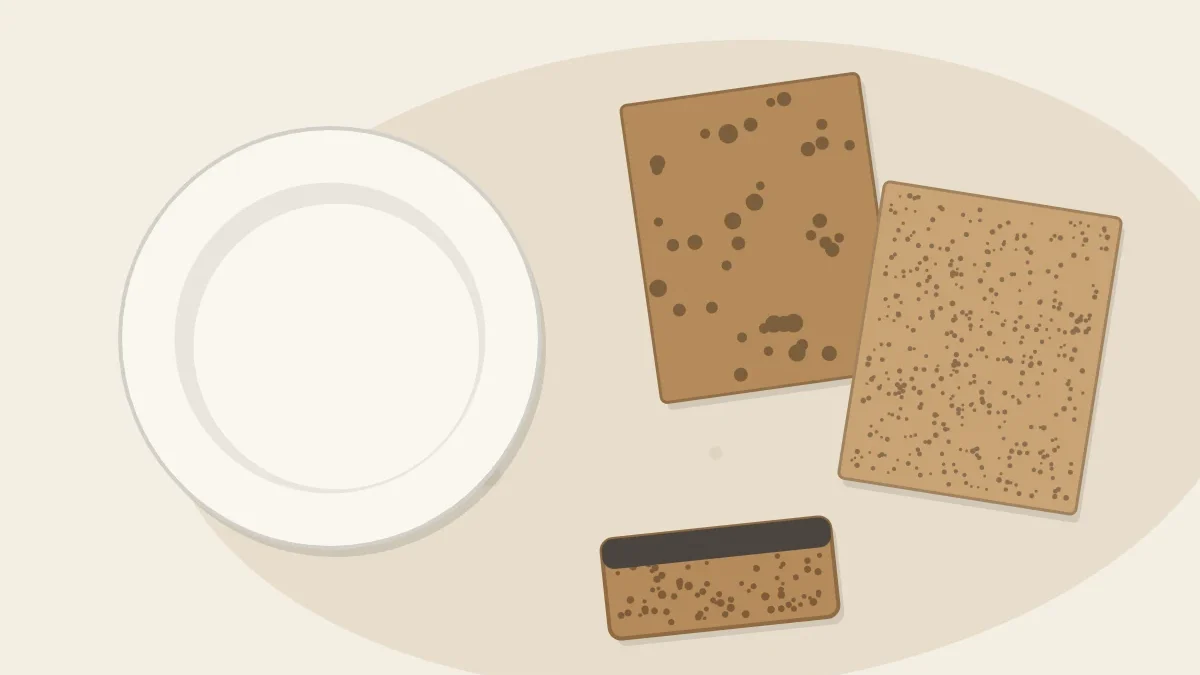
Tutorial at a glance
Materials
- Fully dry air dry clay piece
- Medium sandpaper, 120 to 180 grit
- Fine sandpaper, 220 to 320 grit
- Sanding sponge or block
- Soft dry brush
- Cloth for damp wiping
- Dust mask
- Newspaper or tray to catch dust
Run a fingertip over a dry clay piece and you will find things your eyes missed: a ridge where a cutter dragged, a gritty rim, a faint fingerprint. A few minutes of sanding removes them and gives paint a far better surface to sit on. It is a simple job, but it produces fine dust, so the setup matters as much as the technique.
What You Need
- A completely dry air dry clay piece
- Medium sandpaper, around 120 to 180 grit
- Fine sandpaper, around 220 to 320 grit
- Extra-fine sandpaper, 400 grit or higher (optional)
- A sanding sponge or sanding block
- A soft, dry brush
- A cloth you can dampen
- A dust mask and newspaper or a tray to catch dust
Sand Only When the Clay Is Fully Dry
Sandpaper on damp clay does not sand; it smears, tears the surface and clogs the paper within seconds. Wait until the piece is dry all the way through. Useful signs are a lighter, even color with no darker patches, and a surface that feels room temperature rather than cool against your skin. Check the underside and the thickest part as well.
Drying time depends on thickness, humidity, airflow and the clay itself, so follow the instructions on your clay’s package and give thick pieces extra days if you are unsure. The guide on how long air dry clay takes to dry goes through the signs in more detail.
Set Up for Dust Control First
Dry clay dust is very fine. It floats, settles on everything nearby and is unpleasant to breathe in. Plan for it before you pick up the sandpaper.
- Work outdoors when you can, or next to an open window in a well-ventilated spot.
- Sand low over a sheet of newspaper or a tray so most of the dust lands in one place.
- Consider wearing a dust mask, especially for longer sessions.
- Do not blow dust off the piece. Brush it off gently, close to the paper.
- Clean up by wiping surfaces with a damp cloth. Dry sweeping just lifts the dust back into the air.
- Keep food and drinks away from the sanding area and wash your hands when you finish.
Safety note
Check the label on your clay for its own handling advice. If children are helping, an adult should do the sanding or supervise closely, outdoors, with the same dust precautions.
Choose Your Grits: Medium to Fine
Sandpaper is numbered by grit. Lower numbers are coarser and remove material faster; higher numbers are finer and leave a smoother surface. Working up through the grits means each paper removes the scratches left by the one before.
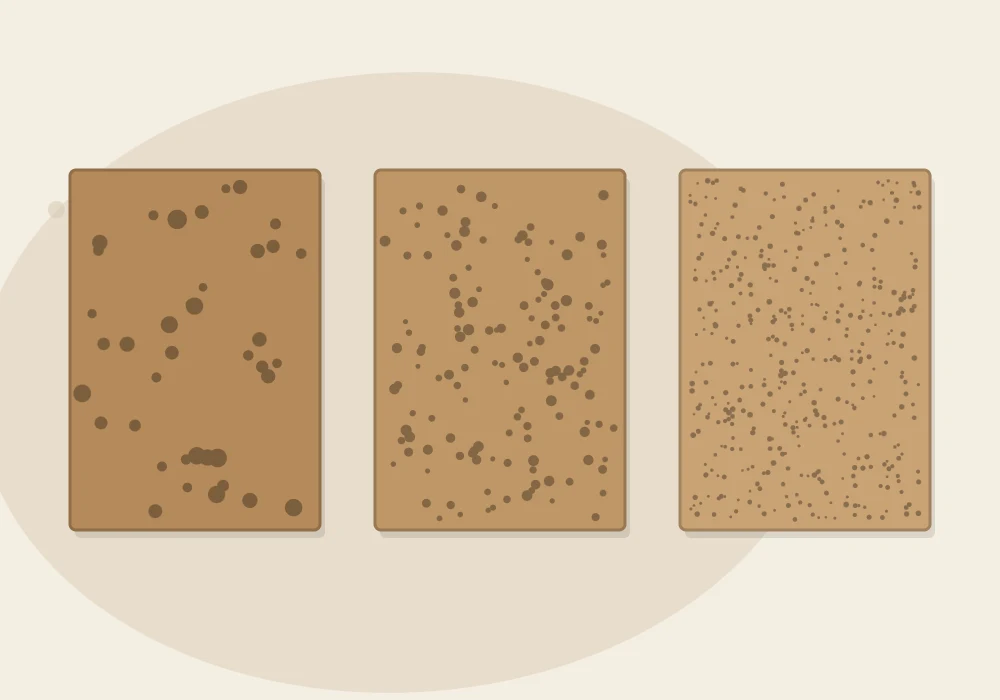
| Grit | Use it for | Notes |
|---|---|---|
| Medium (120 to 180) | Leveling bumps, ridges and uneven edges | Removes clay quickly; use light pressure and skip it if the piece is already fairly smooth |
| Fine (220 to 320) | General smoothing of faces and edges | The main grit for most small projects |
| Extra fine (400 and up) | A final pass before painting | Optional; gives a soft, even surface |
Air dry clay is much softer than wood, so coarse papers below about 100 grit usually leave deep scratches that take longer to remove than the flaw you started with.
How to Sand, Step by Step
- Brush and inspect. Dust the piece with a dry brush and look at it under light from the side to spot ridges and dents.
- Sand flat faces on the table. Lay a sheet of sandpaper grit side up on a flat surface. Hold the piece flat against it and move it in small circles or figure eights with light, even pressure. Sanding this way keeps flat faces flat instead of rounding them over.
- Check often. Lift the piece every few strokes, brush off the dust and look. It is easy to take off more than you meant to.
- Move to the finer grit. Repeat with fine paper until the scratches from the medium grit are gone.
- Ease the edges and curves. Follow the methods in the next two sections.
- Finish and clean. Make a last light pass with your finest paper, then remove the dust as described at the end.
Tip
Support the piece near the spot you are sanding. Dry air dry clay is fairly brittle, and thin areas such as hanging holes and narrow necks can snap if they are left to flex under pressure.
Easing Edges and Rims
Cut edges dry with a sharp corner that chips easily and looks unfinished. Easing means rounding that corner very slightly.
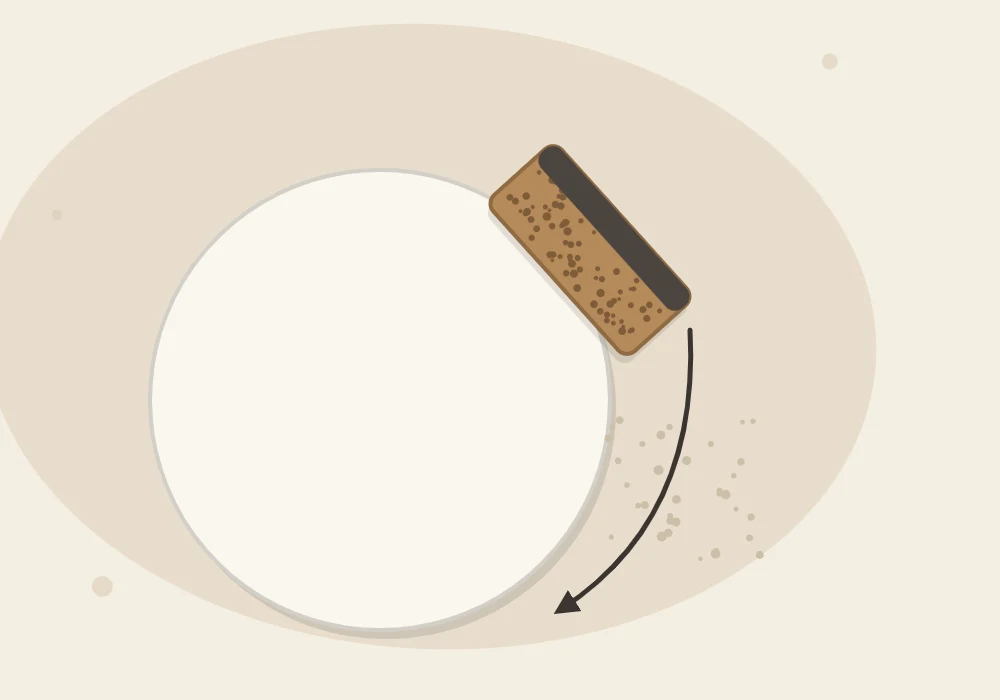
Hold a sanding block or folded fine paper at about 45 degrees to the edge and stroke along it in one direction, turning the piece as you go. Two or three light passes on each side are usually enough. For the inside of a hanging hole, roll a small strip of sandpaper into a tube and twist it gently.
Sanding Sponges for Curves
Flat paper digs flat spots into curved surfaces. A sanding sponge, or sandpaper wrapped around a soft sponge kept for crafts, bends to follow the inside of a dish, a rounded bead or a small figure. Use the same light circular strokes and keep the sponge moving so you do not wear a groove in one place.
On textured pieces, sand only the edges and leave the pattern alone. Sanding across impressed detail softens it quickly.
A Low-Dust Alternative: Damp-Sponge Smoothing
If you cannot sand outside or want to avoid dust, much of the smoothing can be done earlier. While the clay is still soft or just firm, wipe edges and surfaces with a well-squeezed sponge and compress rims with a fingertip. The more you tidy at that stage, the less sanding is left. The tutorial on smoothing air dry clay before and after it dries covers this approach.
Some clays also allow light touch-ups on a dry piece with a barely damp sponge, which softens the very top layer. Test on the underside first, use almost no water and let the piece dry again completely afterward.
Wipe Down Before You Paint
Leftover dust mixes into paint and leaves a gritty, patchy coat. Brush the piece with a soft, dry brush, then wipe it with a cloth that is barely damp, wrung out until it feels almost dry. A wet cloth softens the surface and undoes your sanding. Let the piece air dry for a few minutes before the first coat.
From here you can move on to painting air dry clay, or go straight to sealing if you prefer the natural color.
Frequently asked questions
What grit sandpaper should I use on air dry clay?
Fine paper around 220 to 320 grit suits most pieces. Start with a medium grit of 120 to 180 only if there are bumps or ridges to level, and finish with 400 or higher if you want an extra-soft surface.
Can I sand air dry clay before it is completely dry?
No, damp clay smears and clogs the paper instead of sanding cleanly. Wait until the piece is evenly light in color and no longer feels cool.
Is it okay to sand air dry clay indoors?
Outdoors is better because the dust is very fine. If you must work inside, choose a well-ventilated spot, sand over newspaper, and wipe everything with a damp cloth afterward.
Do I have to sand before painting?
It is optional, but a light sanding removes ridges and sharp edges that paint tends to highlight. Always remove the dust before the first coat.

