Air Dry Clay Leaf Dish with a Real Leaf Imprint
Press a real leaf vein-side down into a clay slab, cut around it and curve the edges into a small dish, then pick out the veins with a paint wash.
Tutorial at a glance
Materials
- Air dry clay (about a tennis-ball-sized lump)
- Fresh leaf with raised veins, 4 to 6 inches (10 to 15 cm) long
- Rolling pin and non-stick surface
- Craft knife or needle tool
- Shallow bowl or curved form lined with plastic wrap
- Fine sandpaper
- Acrylic craft paint and a soft brush
- Clear water-based varnish
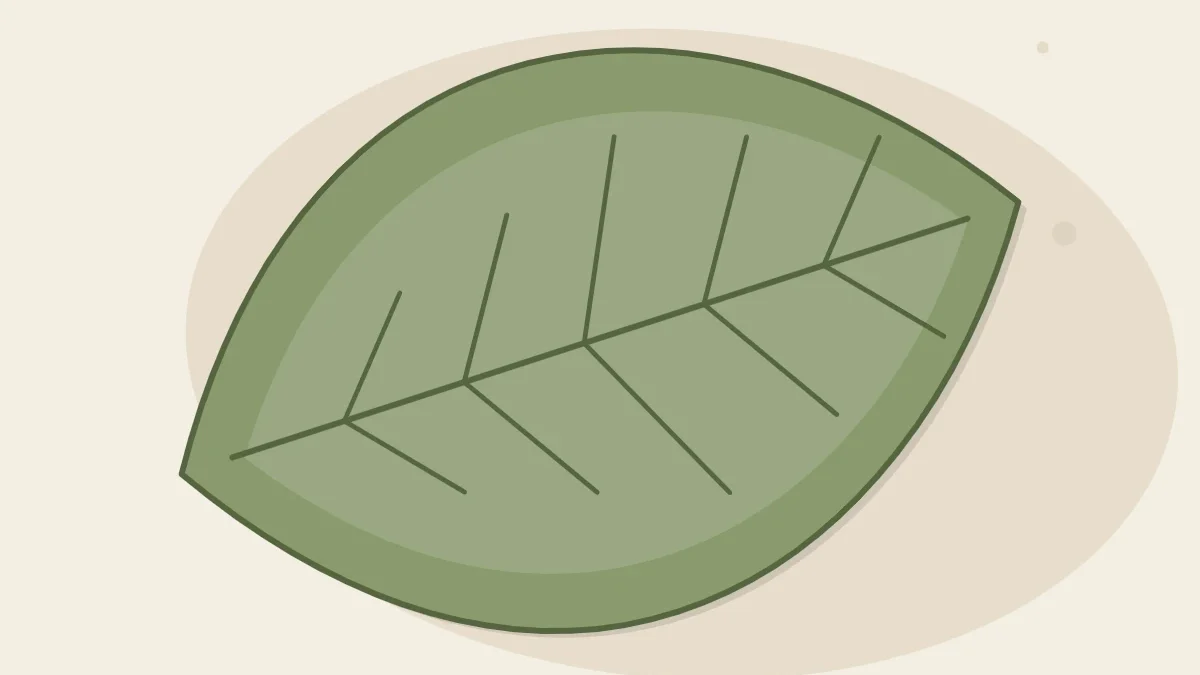
Turn a leaf over and look at the underside. The veins stand out there like fine ridges, and soft clay copies every one of them. Press that side into a slab, cut around the outline and curve the edges up, and you have a leaf-shaped dish for rings, earrings or keys with a pattern no stamp could match.
Like every air dry clay dish, this one is decorative and for dry items only. It is not food safe and should not hold water.
What You Need
- Air dry clay, about a tennis-ball-sized lump
- One fresh leaf, 4 to 6 inches (10 to 15 cm) long
- A rolling pin and a non-stick surface such as canvas or baking parchment
- Two guide sticks about 1/4 inch (6 mm) thick, optional
- A craft knife or needle tool
- A shallow bowl or curved form and plastic wrap
- A small cup of water and a soft sponge
- Fine sandpaper
- Acrylic craft paint, a soft brush and a paper towel
- A clear water-based varnish
Choosing a Leaf
The leaf does most of the design work, so it is worth picking a few and comparing them.
| Look for | Avoid |
|---|---|
| Thick, raised veins on the underside | Smooth, waxy leaves with veins you can barely feel |
| A fresh, flexible leaf that bends without cracking | Dry or brittle leaves that crumble into the clay |
| A simple, broad outline | Deeply cut or feathery shapes with thin lobes that snap when dry |
| A size that fits your palm | Very large leaves, which are harder to dry without warping |
| A plant you can identify | Unknown plants, or any known to irritate skin |
Rinse off any grit, pat the leaf completely dry and trim the stem flush with the base so it does not dent the slab.
Press the Imprint
- Roll the slab. Knead the clay briefly and roll it to about 1/4 inch (6 mm), slightly larger than the leaf all around. Smooth away any marks on the surface with a barely damp fingertip.
- Place the leaf vein-side down. Lay it in the middle of the slab and press it lightly with your palm so it stays put.
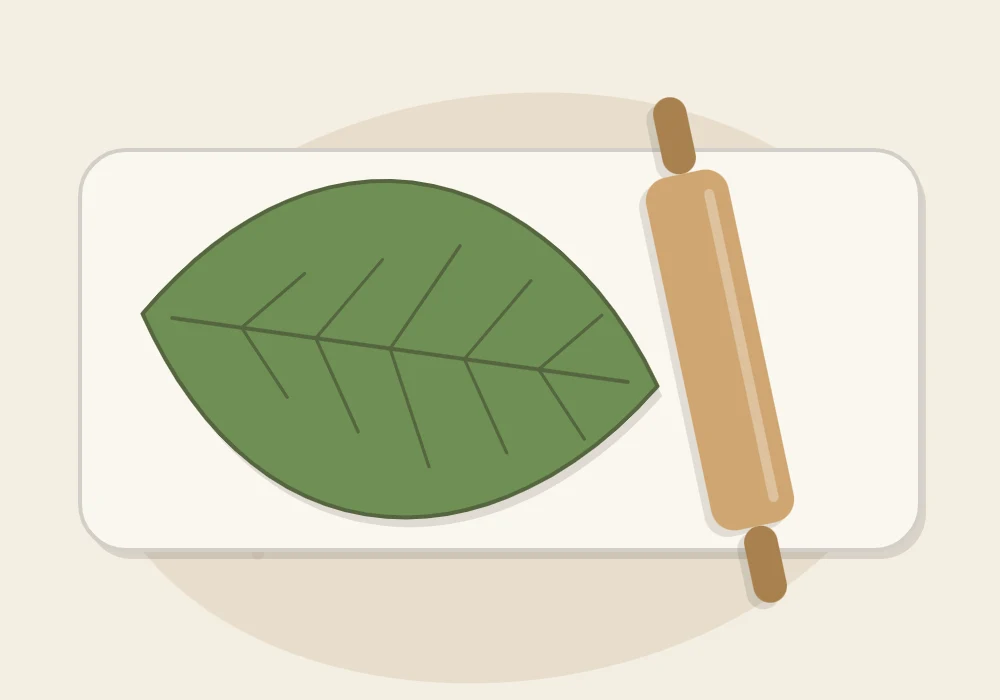
- Roll over it once. Starting at the stem end, roll firmly across the leaf in a single pass. Going back and forth can shift the leaf and leave a doubled, blurry print.
- Check the edges. Press down any part of the leaf edge that has lifted, using a fingertip, so the outline is clear.
The same approach works with lace, fabric and other plants. Adding texture to air dry clay goes through the options.
Cut Around the Leaf and Peel It Away
- Leave the leaf in place as your template. Hold the craft knife upright and cut around its outline in short strokes. Simplify tight notches into gentle curves; thin points are the first thing to break on a dry dish.
- Lift away the spare clay and wrap it for later.
- Find the stem end of the leaf, lift it with the tip of the knife and peel the leaf back slowly, keeping it low to the surface.
- Soften the cut edge with a barely damp fingertip. Touch only the edge. Water on the face of the dish washes out the fine veins.
Safety note
Craft knives call for adult supervision. Cut on a protected surface and keep your free hand behind the blade.
Shape the Dish
Line a shallow bowl or other gently curved form with plastic wrap, smoothing out the creases. Slide a hand under the clay leaf and lower it in with the veined side facing up, so the edges lift and the center rests on the form. Let the tip and the lobes rise a little unevenly if you like; real leaves are not symmetrical.
Keep the curve shallow. A steep bend stretches the outer surface, and stretched clay is more likely to crack as it dries.

Tip
To raise one side or the tip a little higher, tuck a small roll of plastic wrap under that part and leave it there until the clay is firm.
Let It Dry Slowly
Leave the dish on its form at room temperature, away from direct sun and strong drafts. Once it is firm enough to hold its shape, often after about a day, lift it out, peel off the plastic and set it on a wire rack so air reaches the underside.
A dish this thin commonly dries in one to three days, but thickness, humidity and the type of clay all change that, so follow the instructions on your clay’s package. It is ready when the color is evenly pale and the base no longer feels cool. Do not hurry it with heat. Slow, even drying reduces the risk of cracks, though nothing rules them out; if one appears, how to prevent and repair cracks explains how to fill it.
Sand the Edge Only
Use fine sandpaper on the rim and the underside to remove sharp ridges and any wrinkle marks from the plastic. Stay off the veined face: even light sanding flattens the ridges that make the dish worth looking at. Sanding makes fine dust, so work outdoors or in a ventilated spot, then wipe the dish with a barely damp cloth and clean the table the same way.
Bring Out the Veins with a Paint Wash
- Base color. Paint the whole dish with two thin coats of acrylic craft paint, such as a soft sage green, and let it dry. You can skip this for a white dish.
- Mix a wash. Thin a slightly darker shade with water until it flows like ink.
- Flood the veins. Brush the wash over the veined face so it runs into every line.
- Wipe back. After a few seconds, wipe the surface gently with a paper towel. The dark color stays in the veins and lifts off the high areas.
- Repeat if needed. A second pass deepens the contrast. Let the dish dry overnight before sealing.
Use the wash sparingly. It adds water to the clay, and a soaked surface can turn soft.
Seal and Use
Brush on two thin coats of clear water-based varnish, covering the face, the rim and the underside, and let it cure for the time on the label. A matte or satin finish keeps the leaf looking natural. Sealer adds some resistance to dust, handling and light moisture, but it does not make the dish waterproof; the details are in how to seal air dry clay.
Set the finished dish on a dresser, desk or entry table for rings, earrings, keys or coins, and dust it with a dry cloth. If you would like a plainer shape to practice on first, the round trinket dish uses the same rolling and shaping steps.
Frequently asked questions
Which side of the leaf goes against the clay?
The underside. The veins are raised there, so pressing that side down leaves the clearest lines in the slab.
Why is my leaf imprint blurry?
The leaf probably shifted during rolling, or water was smoothed over the surface afterward. Roll once in a single firm pass and keep damp fingers to the cut edge only.
Can I use a dried or artificial leaf?
Dried leaves usually crumble under the roller. An artificial leaf can work if it has molded veins, though the print is often softer than one from a fresh leaf.
Can a clay leaf dish hold soap or water?
No. Air dry clay softens with moisture even when sealed, and it is not food safe. Use the dish for dry items such as rings, earrings and keys.