Easy Air Dry Clay Trinket Dish: Step-by-Step Tutorial
Roll a slab, cut a circle around a bowl and let it dry into a shallow dish for keys, rings and coins. A decorative, dry-use first project.

Tutorial at a glance
Materials
- Air dry clay (a lump a little smaller than a tennis ball)
- Rolling pin or smooth glass bottle
- Non-stick mat, canvas or baking parchment
- Bowl or lid 4 to 5 inches (10 to 13 cm) across as a template
- Craft knife or needle tool
- Shallow bowl lined with plastic wrap
- Fine sandpaper
- Acrylic craft paint and clear water-based varnish
Keys, rings and loose coins tend to end up wherever they were set down last. A small clay dish by the door or on a nightstand gives them one place to land, and it is one of the most forgiving first projects in air dry clay: one slab, one circle, one curve.
One thing to settle before starting: this is a decorative dish for dry items only. Air dry clay is not food safe and does not hold liquids, so it is not for snacks, drinks, water or wet soap.
What You Need
- Air dry clay, a lump a little smaller than a tennis ball
- A rolling pin or smooth glass bottle
- A non-stick surface such as canvas, baking parchment or a silicone mat
- Two guide sticks about 1/4 inch (6 mm) thick, optional but helpful
- A small bowl or lid 4 to 5 inches (10 to 13 cm) across to cut around
- A craft knife or needle tool
- A shallow bowl and plastic wrap for shaping
- A small cup of water and a soft sponge
- Fine sandpaper, acrylic craft paint and a clear water-based varnish
Safety note
Craft knives are sharp. Cut on a protected surface with the blade angled away from your other hand, and have an adult do the cutting when children are helping.
Step 1: Roll and Cut the Circle
- Knead the clay for a minute until it feels even and pliable, then press it into a thick disc with your palm.
- Place it on your non-stick surface between the guide sticks and roll from the center outward, turning the slab a quarter turn every few passes. Aim for about 1/4 inch (6 mm) all over. Even thickness matters more than the exact figure; the method is explained in detail in how to roll an even slab.
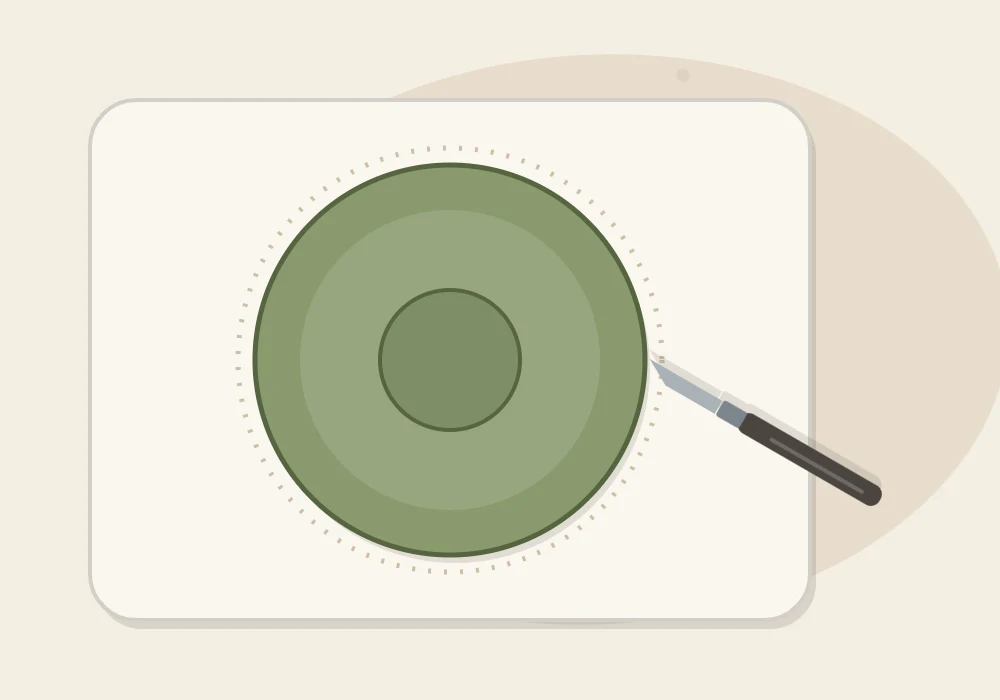
- Set the bowl or lid upside down on the slab. Hold it steady and cut around it with the knife held upright, moving in short strokes instead of dragging the blade in one pull.
- Lift away the offcuts, wrap them in plastic and seal them in an airtight container for another project.
Step 2: Smooth the Edge
A cut edge is sharp and slightly ragged, and it is much easier to fix now than after drying. Dip a fingertip in water, shake off the drips and run it around the rim, rounding the top and bottom corners. A barely damp sponge works too.
Use very little water. A wet surface turns slimy, and soggy clay is more likely to crack as it dries. If you want a cleaner surface on the face of the dish as well, the techniques in how to smooth air dry clay apply here.
Step 3: Shape It in a Bowl
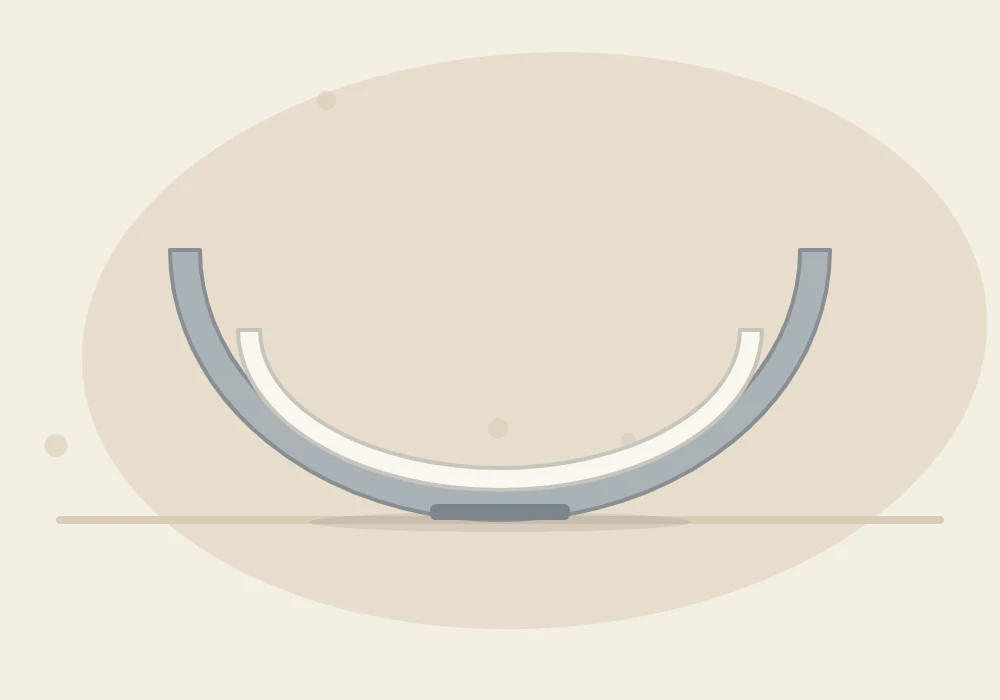
- Line a shallow bowl with plastic wrap, smoothing out the larger wrinkles so they do not print into the clay.
- Slide a hand under the circle and lower it into the bowl without stretching it.
- Press gently from the center toward the rim so the clay follows the curve. A gentle curve is enough; a deep bowl shape puts more stress on the clay.
- Check the rim from the side and nudge it level.
Tip
Once a bowl has been used as a clay mold, keep it with your craft supplies and do not return it to the kitchen.
Step 4: Let It Dry
Leave the dish in the bowl at room temperature, away from direct sun and strong drafts, until it is firm enough to hold its shape. That often takes around a day. Then lift it out by the plastic wrap, peel the wrap away and set the dish on a wire rack or turn it upside down so air reaches the base.
Total drying time is commonly one to three days for a dish this thin, but it depends on thickness, humidity and the type of clay, so follow the instructions on your clay’s package. The dish is ready when it is evenly pale and no longer feels cool to the touch. Do not try to speed things up with heat; slow, even drying reduces the risk of cracks and warping.
Step 5: Sand, Paint and Seal
- Sand. Smooth the rim and any rough patches with fine sandpaper. Work outdoors or in a well-ventilated spot, because sanding makes fine dust, and wipe the dish and the table with a damp cloth afterward.
- Paint. Apply acrylic craft paint in two thin coats, letting each one dry. You can also leave the clay bare for a plain, chalky look. See how to paint air dry clay for brush and coat advice.
- Seal. Brush on two thin coats of clear water-based varnish, covering the top, the rim and the base. Sealer adds some resistance to dust, handling and light moisture. It does not make the dish waterproof; how to seal air dry clay covers the limits.
Three Easy Variations
- Painted rim: leave the dish white and run a round brush loaded with terracotta or mustard paint along the edge, turning the dish as you go.
- Speckled finish: paint a pale base coat, then flick thinned dark paint from a stiff brush for a stoneware-style speckle. Cover the table first.
- Organic wavy edge: skip the template and cut a loose freehand circle, then pinch the rim gently at intervals before it goes in the bowl.
If Something Goes Wrong
| What you see | Likely cause | What to try |
|---|---|---|
| Hairline crack at the rim | Edge too thin or too wet, or drying too fast | Fill with a paste of clay and water, let it dry again, then sand lightly |
| Dish dried lopsided | Circle sat off-center in the bowl | Sand the rim level, or treat it as an organic shape |
| Wrinkle lines on the underside | Creased plastic wrap | Sand them back once dry; smooth the wrap next time |
| Dish rocks on the table | Rounded or uneven base | Rub the base in circles on a sheet of sandpaper laid flat |
Using and Caring for Your Dish
Keep the finished dish somewhere dry: an entry table, a dresser, a desk. It suits rings, earrings, keys, coins, hair ties and paper clips. Dust it with a soft, dry cloth, and never soak or rinse it. If the rim chips after a knock, a light sanding and a dab of paint and varnish usually hide the damage.
Frequently asked questions
Can I put food in an air dry clay trinket dish?
No. Air dry clay is not food safe, and paint or sealer does not change that. Use the dish for dry items such as rings, keys and coins.
How thick should a clay trinket dish be?
About 1/4 inch (6 mm) is a good target. Thinner slabs are fragile and tend to curl, while thicker ones take longer to dry.
Why did my trinket dish crack while drying?
Common causes are uneven thickness, too much water during smoothing or drying too quickly. Even rolling and slow drying at room temperature reduce the risk, though no method rules cracks out.
Do I have to paint the dish?
No. Bare clay has a soft, chalky look of its own. A clear sealer is still worth adding because the dish will be handled often.