Air Dry Clay Plant Markers for Indoor Pots
Cut pointed clay strips, stamp or paint a name on each and seal every side. An honest guide to markers that suit indoor pots and short-term use, because damp soil softens the clay even when sealed.
Tutorial at a glance
Materials
- Air dry clay (about a tennis-ball-sized lump for six markers)
- Rolling pin and non-stick surface
- Guide sticks about 1/4 inch (6 mm) thick
- Ruler and craft knife
- Letter stamps or a toothpick
- Fine sandpaper
- Acrylic craft paint and clear water-based varnish
- Optional wooden skewers and strong craft glue
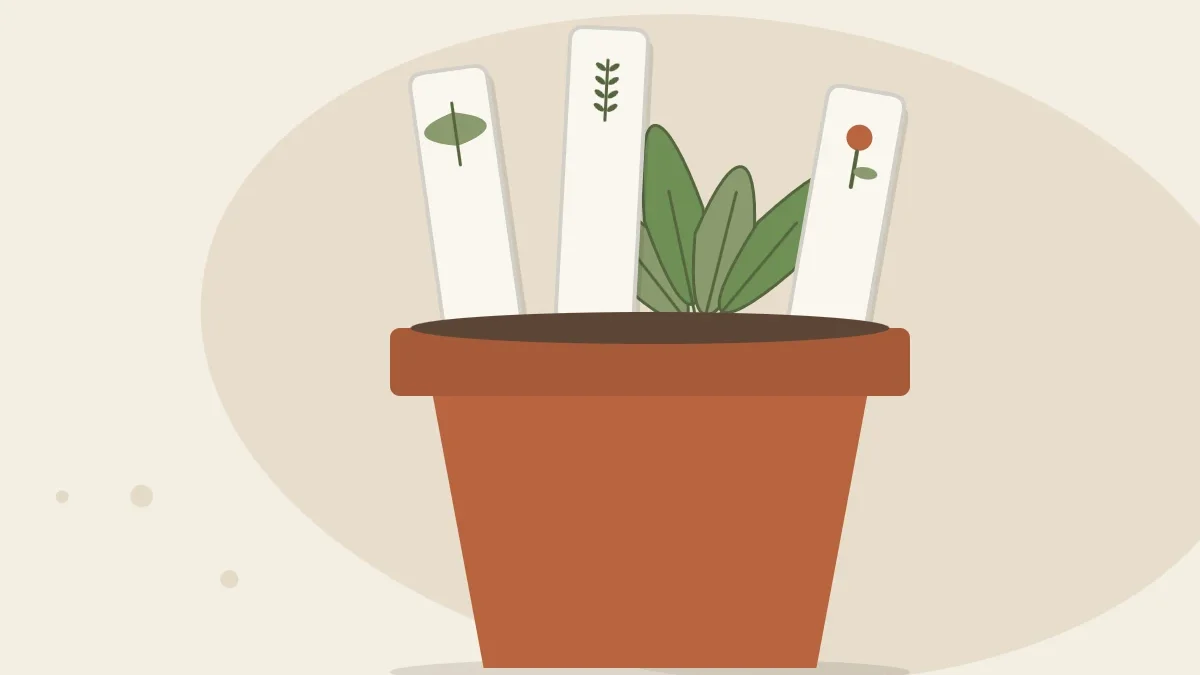
Three pots of seedlings on a windowsill look identical for the first few weeks, and by the time the basil and the parsley can be told apart, the seed packets are long gone. A few clay markers with a painted leaf or a name solve that, and they take one small slab to make.
Read This First: What Clay Markers Can Handle
Ordinary air dry clay softens when it stays damp, even when it has been sealed. It hardens by losing water, and it can take water back in. A marker pushed into moist potting soil and watered every few days will eventually swell, soften or crumble at the buried end.
That does not rule the project out. It sets the terms:
- These markers suit indoor pots, not garden beds, balconies or anywhere rain reaches.
- Treat them as short-term labels for a season of seedlings or a gift plant, not as permanent fixtures. Expect to replace them.
- Sealing every surface can slow the damage. It makes a marker water-resistant at best, not waterproof or weatherproof.
- Keeping the clay itself above the wet soil line makes the biggest difference. The skewer method below does exactly that.
What You Need
- Air dry clay, about a tennis-ball-sized lump for six markers
- A rolling pin and a non-stick surface
- Two guide sticks about 1/4 inch (6 mm) thick
- A ruler and a craft knife
- Small letter stamps, a toothpick or a fine detail brush for the labels
- A soft sponge and a little water
- Fine sandpaper
- Acrylic craft paint and a clear water-based varnish
- Optional: wooden skewers and strong craft glue
Roll and Cut the Strips
- Roll the slab. Knead the clay briefly, then roll it between the guide sticks to an even 1/4 inch (6 mm). Thinner strips snap easily once dry, so do not go under that. If your slabs tend to come out uneven, see how to roll air dry clay.
- Mark the strips. Using the ruler, score light lines for strips about 3/4 inch (2 cm) wide and 5 inches (13 cm) long.
- Cut straight down. Press the knife along the ruler in several short cuts instead of dragging it, which stretches the clay. More on clean edges in how to cut air dry clay.
- Shape the point. Cut two angled lines at one end of each strip to make a blunt point about 1 inch (2.5 cm) long. A needle-sharp tip is fragile; a slightly rounded one lasts longer.
- Smooth the edges. Run a barely damp fingertip or sponge along every cut edge and round the corners of the top end.

Safety note
Blades and pointed skewers call for adult supervision. Cut on a protected surface and keep fingers behind the ruler’s edge.
Add Names or Symbols
You can label the markers now, while the clay is soft, or later with paint. Many people do both.
- Stamped letters: press small letter stamps into the top half of the strip. Support the strip on the table so it does not bend, and press evenly so the letters are the same depth.
- Scratched names: write with a toothpick, then brush away the crumbs it raises once the clay has firmed up a little.
- Pressed symbols: a small real leaf or herb sprig pressed into the clay leaves a vein pattern. Adding texture to air dry clay explains how to get a crisp impression.
- Painted symbols: leave the strip plain and paint a simple leaf, sprig or dot pattern after drying.
Keep all decoration in the top 2 inches (5 cm). The lower part is the stake.
Dry Them Flat
Long, thin strips like to curl as they dry, because the top surface loses water faster than the underside. To limit that:
- Lay the strips on a flat board lined with baking parchment, or on a wire rack once they are firm enough to move without bending.
- Turn them over every few hours on the first day, then once or twice a day after that.
- Keep them at room temperature, away from direct sun, radiators and strong drafts.
Strips of this thickness often dry in one to three days, but humidity and the type of clay change that, so follow the instructions on your clay’s package. They are ready when both faces are the same pale color and neither feels cool.
Paint and Seal Every Side
- Sand the edges. Fine sandpaper takes off any sharp ridges. Sand outdoors or in a ventilated spot, since it makes fine dust, and wipe up with a damp cloth.
- Paint. Use acrylic craft paint in thin coats. A dark wash wiped over stamped letters settles into them and makes the names readable from a distance.
- Seal the front, back, edges and point. Brush on two or three thin coats of clear water-based varnish, letting each dry for the time on the label. Pay attention to the point and the cut edges, where bare clay is most exposed.
- Let the varnish cure. Wait the full time on the label before the marker goes near a pot.
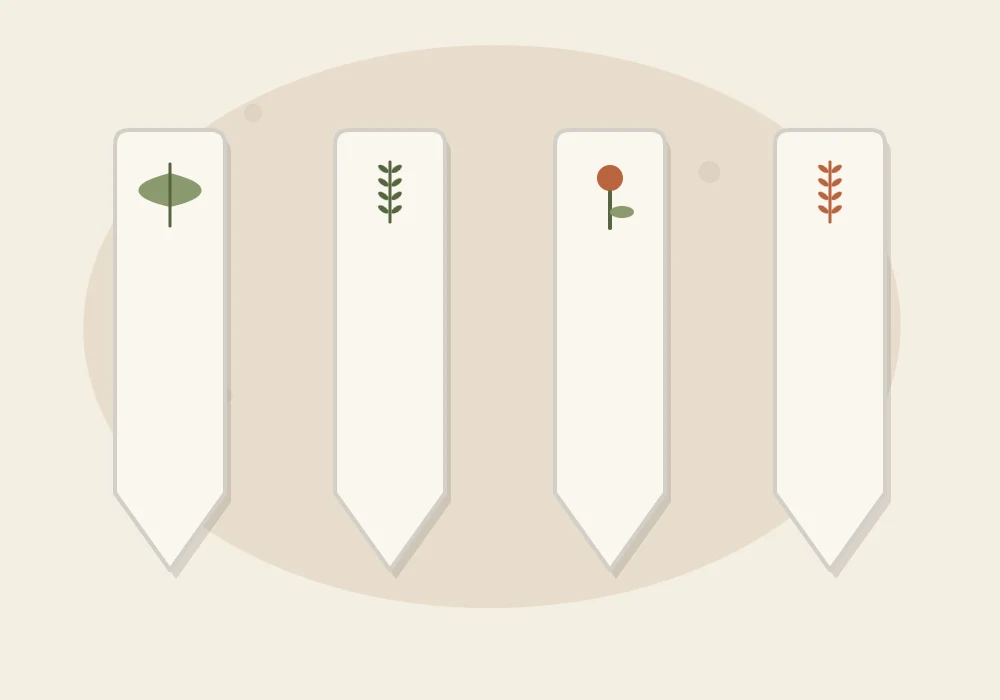
Sealer adds some resistance to splashes and damp fingers, but soil moisture and watering still soften the clay over time. For what it can and cannot do, see how to seal air dry clay.
Three Ways to Use Them
| Method | How it works | What to expect |
|---|---|---|
| Mounted on a wooden skewer | Make a shorter clay tag without a point and glue a skewer to the back with strong craft glue; only the wood goes into the soil | Usually the longest-lasting option, because the clay stays above the wet soil; keep water off it all the same |
| Tucked at the dry edge of the pot | Push the sealed stake in shallowly, close to the rim, and water away from it | Short-term only: the buried end softens with watering, so check it often and expect to replace the marker |
| Standing in dry filler | Use in pots of faux plants, or in a dry layer of decorative pebbles | Little wear, since the clay stays dry |
Tip
For the skewer version, glue only after the clay is fully dry and sealed, and lay the marker face down until the glue has set.
When a Marker Wears Out
Lift the markers out before a heavy watering and put them back afterward if the pot is small. If the buried end starts to feel soft or look swollen, take the marker out and let it dry on a rack; it may firm up again, though the surface often stays rough. A marker that has crumbled at the tip can be sanded to a shorter point, resealed and reused, or simply replaced. A fresh set takes one evening and a small lump of clay.
Frequently asked questions
Can air dry clay plant markers go outside?
They are not suited to it. Rain and constant damp soften ordinary air dry clay, and sealer does not make it weatherproof. Keep them for indoor pots.
How long do clay plant markers last in soil?
Not long, and it varies with how wet the soil stays. Moisture softens air dry clay even when it is sealed, so a marker pushed into soil is a short-term label that may need replacing. Clay mounted on a wooden skewer, above the wet soil, usually lasts longer.
How thick should clay plant markers be?
About 1/4 inch (6 mm). Thinner strips tend to snap when they are pushed into a pot or pulled out again.
How do I stop the strips from curling as they dry?
Dry them flat at room temperature and turn them over several times a day at first so both faces lose water at a similar rate. This reduces curling but may not remove it entirely.