How to Shape Air Dry Clay: Pinch, Coil and Slab Basics
Pinch, coil and slab are the three hand-building methods behind most beginner clay projects. Here is how each one works and when to use it for decorative, dry-use pieces.

Almost every handmade clay object, from a ring dish to a tiny whale, starts as one of three things: a ball you pinch open, a rope you coil, or a flat sheet you cut and bend. Learn those three moves and you can work out how to build most beginner projects.
The Three Hand-Building Methods at a Glance
Pinching, coiling and slab building come from traditional pottery and suit air dry clay well. None needs a wheel or special equipment; what changes is the shape each produces most easily.
| Method | Starts from | Good for | Watch for |
|---|---|---|---|
| Pinch | A ball of clay | Small rounded dishes, little pots for dry items, hollow bodies for figures | Walls getting thin and cracking at the rim |
| Coil | Rolled ropes of clay | Taller or wider decorative forms, spiral trays, rings | Gaps between coils that open up as the piece dries |
| Slab | A rolled flat sheet | Ornaments, tags, shallow dishes, tiles, boxy shapes | Uneven thickness and edges that curl while drying |
Many projects mix methods: a slab base with coiled walls, or a pinched body with small coiled details. Pick whichever gets you to the shape with the least fuss.
Pinch: A Small Pot from a Ball
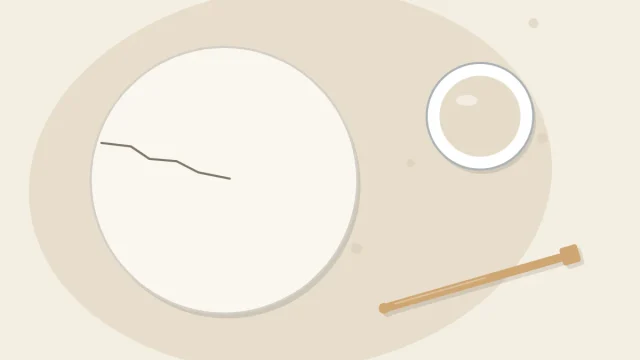
The pinch pot is the classic first exercise: it needs nothing but your fingers and teaches you to feel wall thickness without looking. The finished pot is a decorative, dry-use piece for rings or paper clips, never for food, drink, water or a plant in soil.

- Roll a ball. Roll a golf-ball-sized lump between your palms until smooth, with no deep folds.
- Press in your thumb. Hold the ball in one palm and push your thumb into the center. Stop about 1/4 inch (6 mm) from the bottom so the base keeps some thickness.
- Pinch and turn. With your thumb inside and your fingers outside, squeeze gently, then rotate the ball a little and squeeze again. Spiral slowly from the bottom up to the rim.
- Even out the walls. Keep pinching until the walls are roughly 1/4 inch (6 mm) thick all the way around. Leave the rim slightly thicker until the end, since it dries out first.
- Finish the base and rim. Tap the pot lightly on the table to flatten the bottom, then run a barely damp fingertip around the rim to close any small splits.
Tip
If the rim starts to crack while you pinch, the clay is losing moisture. Dampen one fingertip rather than wetting the pot, and press the rim gently downward to compress it.
Coil: Rolling Even Ropes and Building with Them
A coil is a rope of clay. The skill is in keeping it the same thickness from end to end, because a coil that swells and narrows makes a wall that dries unevenly.
Start with a short, thick roll of clay. Roll it back and forth with flat fingers rather than palms, moving your hands from the center outward as the rope lengthens. If the coil turns flat, you are pressing too hard; stand it on its narrow side and roll gently to round it again. For small projects, a coil about as thick as a pencil, around 3/8 inch (1 cm), is a comfortable size.
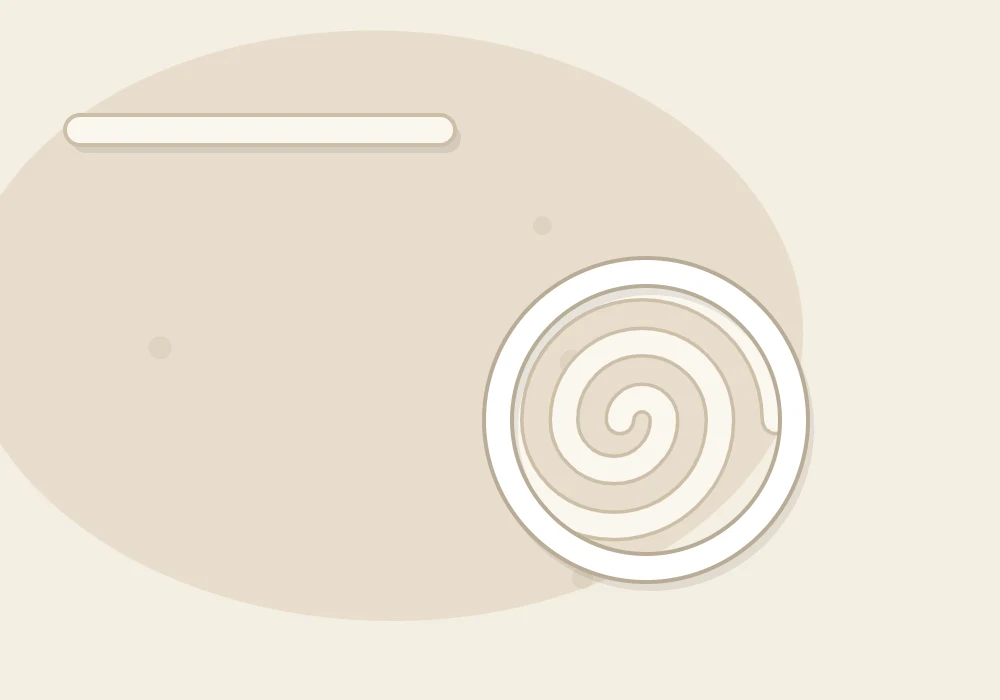
To build, wind one coil into a flat spiral for the base, or cut a base from a slab, then stack rings on the outer edge one at a time. Each coil must be attached, not just rested in place: scratch both contact surfaces, dab on a little slip and press them together, as described in how to join air dry clay pieces. Blend the inside seam downward with a fingertip or wooden tool so the rings lock together; the outside can stay coiled as texture or be blended too.
Stagger the coil ends so the joins do not line up in one weak vertical row. A coil bowl built this way is decorative only: it is not for food or drink and cannot hold water or soil.
Slab: Flat Sheets Draped Over or Into a Form
Slab work begins with a sheet of even thickness; the tutorial on rolling an even slab covers guide sticks and sticking. Keep the cut slab flat for ornaments and tags, or curve it with a household form.
- Draping into a form. Lay the slab inside a bowl lined with plastic wrap and press it down gently. The clay is supported in a dish shape while it firms up.
- Draping over a form. Lay the slab over an upturned bowl, a smooth stone or a rolled towel, also covered in plastic wrap. This gives a clean inside surface and a softer, more organic edge.
Clay shrinks a little as it dries. A piece draped over a rigid form has nowhere to shrink to, so lift it off once it holds its shape and let it finish drying on its own. A piece resting inside a form can usually stay longer because it shrinks away from the sides.
Solid or Hollow: Why Thick Lumps Dry Slowly
Air dry clay hardens as water evaporates, and that water has to travel from the middle of the piece to the surface. In a thin wall the trip is short. In a thick solid lump, the outside dries and shrinks while the core is still damp, which raises the risk of cracks. Timing is covered in how long air dry clay takes to dry.
Small solid shapes such as beads and miniature figures are generally fine as they are. Once a solid form is thicker than about 1 inch (2.5 cm), it is usually worth hollowing it or building it around a lightweight core.
Using a Foil Armature for Larger Shapes
An armature is a support hidden inside a piece; for beginners, the simplest is crumpled aluminum foil. Scrunch the foil into a rough version of your shape, squeeze it firm and cover it with clay about 1/4 inch (6 mm) thick. The piece uses less clay, weighs less and dries more evenly than a solid lump would. The foil stays inside the finished piece.
Watch out
A foil core does not shrink, but the clay around it does. Small cracks can still appear, so keep the clay layer even, let the piece dry slowly at room temperature and follow the instructions on your clay’s package.
Choosing a Method for Your Project
Ask what a project’s main shape is. Flat or gently curved usually means slab. Small and rounded means pinch. Tall, wide or ring-shaped points to coils. Figures are often a mix: an egg-shaped pinched or solid body with coils and small balls for the details, as in these mini clay sculptures built from basic shapes.
Whichever method you choose, the same habits help: keep the thickness even, use very little water and attach every added part properly. The results are decorative, dry-use pieces even when sealed, so plan shapes for holding keys, rings or nothing at all.
Frequently asked questions
Which shaping method is easiest for a first project?
Most beginners find slab work the most predictable, because rolling and cutting give a clean shape quickly. A pinch pot is a close second and needs no tools at all.
Why does my coil keep going flat when I roll it?
Flat coils usually come from pressing too hard or rolling with your palms. Use flat fingers, lighter pressure and longer strokes, and move your hands outward as the rope lengthens.
Can I make a large solid sculpture with air dry clay?
Large solid pieces dry very slowly and are more likely to crack. Building over a crumpled foil core or hollowing the form keeps the clay layer thinner so it dries more evenly.
Can a pinch pot or coil bowl be used for food, water or plants?
No. Ordinary air dry clay stays porous and softens with moisture, and a sealer makes it water-resistant at best, not waterproof. Keep these pieces decorative and for dry items such as rings, keys or paper clips.