Air Dry Clay Ring Holder: Cone and Dish in One
Roll a smooth cone, pinch a small dish, and join the two with scoring and slip. The thick cone needs slow drying before sanding, painting and sealing.
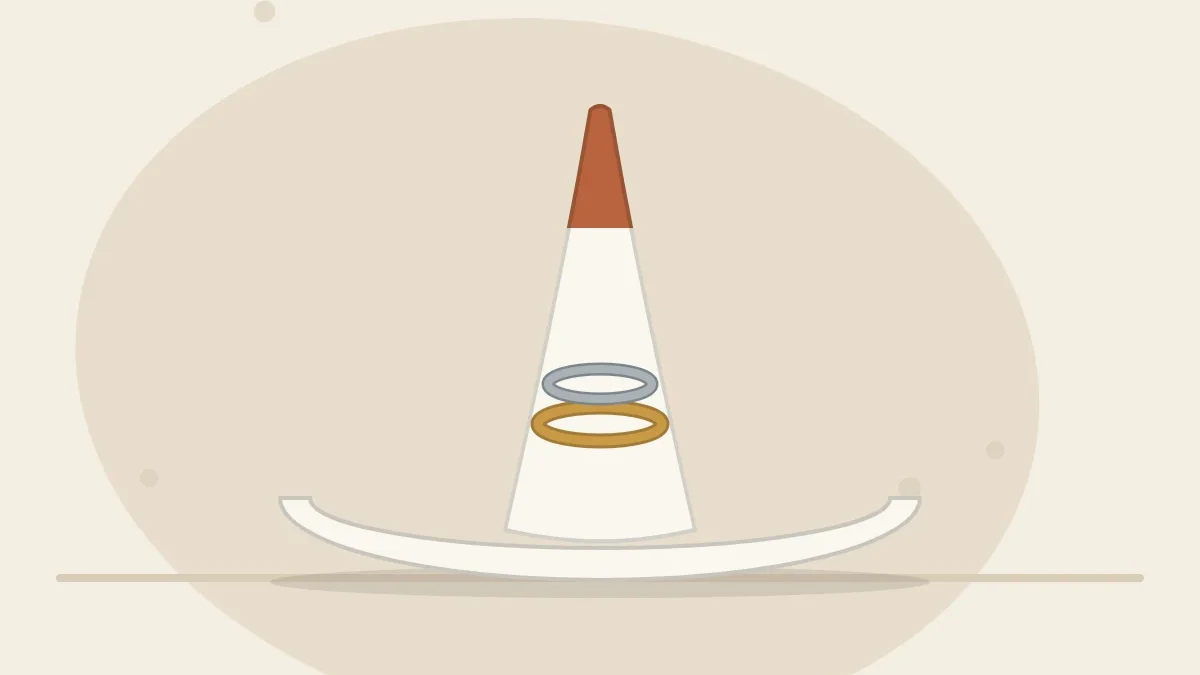
Tutorial at a glance
Materials
- Air dry clay (a little more than a golf-ball-sized lump)
- Rolling pin and 1/4 inch (6 mm) guide sticks
- Round cutter or glass about 3 1/2 inches (9 cm) wide
- Needle tool or toothpick
- Water and a soft brush for slip
- Fine sandpaper
- Acrylic craft paint
- Water-based acrylic varnish
Two simple shapes make this ring holder: a cone that rings slide onto and a small dish underneath that catches earrings. The part that needs attention is where they meet, because a cone only pressed onto a dish tends to pop off once both have dried and shrunk.
What You Need
- Air dry clay, a little more than a golf-ball-sized lump
- Rolling pin and guide sticks about 1/4 inch (6 mm) thick
- A round cutter, glass or lid about 3 1/2 inches (9 cm) across
- A needle tool, toothpick or fork for scoring (pointed tools call for adult supervision)
- A small dish of water and a soft brush for slip
- A wooden modeling tool or the rounded handle of a paintbrush
- Fine sandpaper
- Acrylic craft paint and a water-based acrylic varnish
Roll the Cone
- Pinch off a piece of clay about the size of a large walnut and roll it into a smooth ball. Press out any creases now; they are hard to remove later.
- Roll the ball back and forth under the flat of your hand, pressing harder on one side, until it turns into a short teardrop.
- Keep rolling with your hand tilted so the narrow end lengthens into a point. Aim for a cone 2 to 2 1/2 inches (5 to 6 cm) tall and about 1 inch (2.5 cm) wide at the base.
- Tap the base gently on the table until it is flat and the cone stands straight.
- Round the tip slightly with a fingertip. A needle-sharp point is fragile and usually chips first.

Those proportions suit most adult rings, which slide down until the cone matches their size. A wider base holds fewer rings and, being thicker solid clay, takes longer to dry.
Make the Dish Base
- Roll the remaining clay between the guide sticks to an even 1/4 inch (6 mm).
- Cut a circle about 3 1/2 inches (9 cm) across.
- Smooth the cut edge with a barely damp fingertip.
- Lift the edge all the way around and pinch it gently upward into a low rim about 3/8 inch (1 cm) high. Leave the center flat, since the cone sits there.
For a deeper curve, shape the base in a shallow bowl lined with plastic wrap, as in the jewelry dish tutorial, keeping a flat middle at least as wide as the cone.
Score, Slip and Join
Join the parts while both are soft: clay at the same stage of wetness shrinks together, which gives the seam its best chance.
- Stand the cone in the center of the dish and trace lightly around it with the needle tool, then lift it away.
- Scratch a cross-hatch pattern into the base of the cone and inside the traced circle, with lines that are clearly visible.
- Make slip by mixing a pinch of the same clay with a few drops of water until it looks like thick cream. Brush it onto both scored surfaces.
- Press the cone into place with a small twisting motion until a little slip squeezes out around the base.
- Use the modeling tool to drag clay from the base of the cone down onto the dish all the way around, then smooth the seam with a fingertip.
- For extra strength, roll a thin coil of clay, wrap it around the joint and blend it into both parts until no line shows.

Check from two directions that the cone is upright and nudge it straight while the clay is soft. The full method, including repairs for a joint that fails after drying, is in the guide on how to join air dry clay pieces.
Tip
Go easy on the slip. A thin layer on well-scored clay bonds better than a puddle, and extra water makes the joint shrink more than the rest.
Dry It Slowly
A thin dish and a thick, solid cone dry at different speeds: the rim can be dry while the core of the cone is still damp, which puts stress on the seam. Drape a loose sheet of plastic over the piece for the first day, then uncover it and leave it at room temperature, away from direct sun and drafts.
Once the dish is firm, move the holder to a wire rack so air reaches the underside. Expect roughly three to five days, and longer in humid weather or with a chunkier cone; follow the instructions on your clay’s package. Do not use heat to hurry it. The piece is ready when the color is even from tip to base and the underside beneath the cone no longer feels cool. Habits that reduce the risk of cracks in thick-and-thin pieces are explained in how to prevent air dry clay from cracking.
| Symptom | Likely cause | Fix |
|---|---|---|
| Hairline crack around the base of the cone | Dish dried faster than the cone, or the seam was not blended | Work a thick paste of clay and water into the crack, let it dry again, sand |
| Cone came off completely | No scoring, or parts joined at different stages of dryness | For a decorative piece, glue it back with craft glue (PVA) once both parts are fully dry |
| Cone leans | Base of the cone was not flat, or it shifted while soft | Sand lightly to disguise a small lean; a strong lean means starting over |
| Dish rocks | Base warped slightly as it dried | Rub the underside on sandpaper laid flat on a table |
Sand, Paint and Seal
Sand the cone lightly with fine sandpaper so rings slide on without catching, and soften the rim of the dish. Sanding makes fine dust, so work outdoors or in a ventilated spot and wipe everything down with a damp cloth afterward.
Two finishes suit this shape well:
- Dipped tip: paint the top third of the cone in terracotta, keeping the lower edge of the color level. Low-tack tape helps keep the line straight.
- Speckles: load an old toothbrush with thinned dark paint and flick the bristles with a fingertip over the piece. Cover the table first; the specks travel.
Use thin coats and let each one dry, as described in how to paint air dry clay. Then brush a water-based acrylic varnish over the whole piece, including the underside. Rings rub against the cone every day, so two thin coats are worth it. Sealer adds some resistance to scuffs, dust and light moisture; it is water-resistant at best and does not make the holder waterproof.
Watch out
Keep the holder on a dresser or nightstand, not beside a sink. Ordinary air dry clay softens with prolonged moisture, so put rings on it dry.
Giving It as a Gift
The cone is the fragile part in transit. Wrap the holder in tissue in a box tall enough that nothing presses on the tip, with crumpled paper around it so it cannot slide. Add a card that says it is handmade from air dry clay, is for dry jewelry only, and should be dusted with a dry cloth, never washed.
Frequently asked questions
Why did the cone fall off my ring holder after it dried?
Usually the surfaces were not scored and slipped, or one part was drier than the other when they were joined. Clay shrinks as it dries, and an unblended joint simply pulls apart.
How tall should a ring cone be?
About 2 to 2 1/2 inches (5 to 6 cm) tall and 1 inch (2.5 cm) wide at the base suits most adult rings and holds several at once.
Can I glue the cone on instead of joining it wet?
For a decorative piece, yes. Let both parts dry fully, sand the contact surfaces flat and use craft glue (PVA), then leave it undisturbed as the glue label directs.
Will rings scratch the paint on the cone?
Over time they can. Two thin coats of varnish reduce scuffing, and leaving the lower part of the cone unpainted hides wear better.