Decorative Air Dry Clay Tea Light Holder (LED Lights Only)
A chunky clay disc with a pressed recess sized for a battery-operated LED tea light. It is decorative only and must never be used with real flames or wax candles.
Tutorial at a glance
Materials
- Air dry clay (about a tennis-ball-sized lump per holder)
- Battery-operated LED tea light
- Plastic wrap
- Parchment paper or canvas mat
- Water and a small sponge
- Skewer or pen cap for texture
- Fine sandpaper
- Acrylic craft paint and water-based acrylic varnish
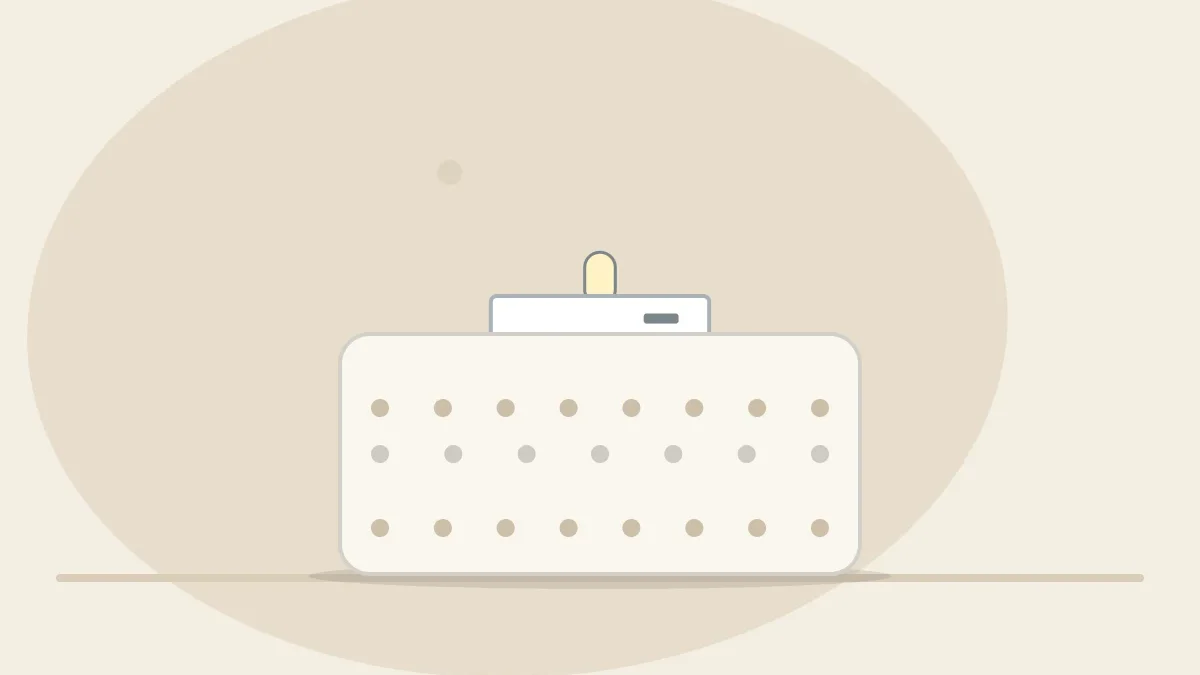
This chunky clay disc with a round recess pressed into the top is a decorative holder for battery-operated LED tea lights only. It is a forgiving shape: no thin walls to collapse and nothing to join.
Safety note
This holder is for battery-operated LED tea lights only. Air dry clay is not rated as heat resistant or fire safe. Never use it with a real flame, a wax candle or anything else that gets hot.
Two things need care: sizing the recess so the LED light still fits after the clay shrinks, and drying a thick piece slowly to reduce the risk of cracks.
What You Need
- Air dry clay, about a tennis-ball-sized lump per holder
- One battery-operated LED tea light to use as the sizing tool
- Plastic wrap
- A non-stick work surface such as parchment paper or a canvas mat
- A cup of water and a small sponge
- Something to press a pattern with: the blunt end of a skewer, a pen cap or a straw
- Fine sandpaper
- Acrylic craft paint and a water-based acrylic varnish (both optional)
Why LED Lights Only
A clay holder must never hold a wax candle or any other flame, however much it looks as if it could. Ordinary air dry clay hardens as water evaporates; it is never fired and is not made or rated for flame or heat, and neither are the paint and varnish on its surface. A battery LED tea light gives a similar warm flicker with no flame and can sit directly in the clay. Treat every version of this project, including any you give away, as an LED-only piece.
Shape the Body
- Knead the clay briefly and roll it into a smooth ball, pressing out any folds or creases.
- Press the ball down with the flat of your hand into a thick disc about 3 inches (7.5 cm) across and 1 to 1 1/4 inches (2.5 to 3 cm) tall.
- Roll the disc on its edge along the table like a wheel to straighten the wall, then tap the top and bottom flat again.
- Check that it sits without rocking. A flat base matters more than a perfect outline.
For a softer, rounded form, start from a thick-walled pinch pot instead, as described in the guide to pinch, coil and slab shaping, keeping the walls at least 1/2 inch (12 mm) thick so the holder stays stable.
Press the Recess
- Wrap the LED tea light in a single layer of plastic wrap, twisting the extra on top into a small handle.
- Center the wrapped light on the disc and press straight down until it sits about 1/2 inch (12 mm) deep. The clay around it will bulge outward a little; ease it back with your fingers.
- Rock the light very slightly in a small circle to widen the recess a touch.
- Lift the light out by the plastic handle and smooth the rim of the recess with a barely damp fingertip.

The extra width matters because clay shrinks as it dries, so a snug recess can end up too tight. The plastic wrap and the rocking each add a little clearance. Shrinkage varies by clay type, so aim for a slightly loose fit: a loose light still sits fine, while a tight recess has to be sanded out later.
Tip
Do not leave the LED tea light in the clay while it dries. The clay tightens around it as it shrinks, which can crack the rim or trap the light.
Add Texture to the Sides
Decorate while the clay is still soft. A row of dots pressed around the wall with the blunt end of a skewer is the simplest pattern. Support the inside of the recess with a finger as you press so the wall does not push inward. Short vertical lines made with the edge of an old card or rings pressed with a straw also work, and more ideas are in the tutorial on stamps, leaves and fabric textures.
Press patterns only partway into the wall: deep cuts thin the clay unevenly, a usual cause of cracks.
Dry It Slowly
Leave this thick piece at room temperature, out of direct sun and strong drafts, and follow the instructions on your clay’s package. For the first day, drape a loose sheet of plastic over it so the outside does not dry far ahead of the middle. Then uncover it and turn it onto its side or upside down once or twice a day so air reaches the base.
A holder of this thickness often needs three to five days and sometimes longer in humid weather. It is ready when the color is even and lighter all over and the base no longer feels cool. Do not use any heat source to speed things up. Fast, uneven drying is closely linked to cracking, as the guide on preventing and repairing cracks explains, and no method can promise a crack-free piece.
Sand, Paint and Seal
When the holder is fully dry, rub the base in circles on fine sandpaper laid flat on the table to level it, then soften the top rim. Sanding creates fine dust: work outdoors or in a ventilated spot and wipe the piece and the surface with a damp cloth afterward.
Test the fit with the bare LED light. If the recess is tight, wrap sandpaper around a finger and sand the inside a little at a time.
Leave the clay bone white or paint it with thin coats of acrylic craft paint. A set of three in white, terracotta and sage at different heights makes a simple centerpiece. Finish with a water-based acrylic varnish over every surface, including the base; the options are compared in the guide to sealing air dry clay. Sealer adds some resistance to dust and handling. It is water-resistant at best and does not make the holder heat resistant or waterproof.

Common Problems
| Problem | Likely cause | What to do |
|---|---|---|
| LED light no longer fits | Recess shrank during drying | Sand the inside wall a little at a time |
| Holder rocks on the table | Base dried slightly domed | Sand the base flat on a sheet of sandpaper |
| Fine crack at the rim | Outside dried faster than the middle | Fill with a paste of clay and water, let it dry again, sand |
| Dots look ragged | Tool dragged or clay was too wet | Let the clay firm up for a few minutes and press straight in |
Using and Gifting the Holder
Keep the finished piece dry and dust it with a soft dry cloth. LED tea lights run on small button batteries, which are dangerous if swallowed, so keep the lights and any spare batteries away from young children. If the holder is a gift, add a short note that says it is decorative, should be kept dry, and is for battery LED tea lights only, never real candles or flames. Without the note, the next owner may not know that it must never hold a real candle.
Frequently asked questions
Can I use a real wax candle instead of a battery LED tea light?
No. Air dry clay is not rated as heat resistant or fire safe, and neither are the paint and varnish on it. Use battery-operated LED tea lights only.
Does sealing the holder make it safe for a flame?
No. Sealer only adds some resistance to dust, handling and light moisture. It does not change how the clay or the finish reacts to heat, so the holder stays LED-only.
How much bigger should the recess be than the LED light?
Just slightly. Wrapping the light in plastic wrap and rocking it gently as you press usually leaves enough room for shrinkage, and a tight recess can be sanded wider once dry.
Why does such a small piece take so long to dry?
It is thick, and water has to travel from the middle to the surface. Thick solid forms commonly need several days at room temperature, and the time varies with humidity and clay type.