Air Dry Clay Bead Garland for Shelves and Trays
Roll matching large beads from a sliced clay log, dry them on skewers so they stay round, then string them on jute with knots and a simple tassel.
Tutorial at a glance
Materials
- Air dry clay (roughly 10 to 12 ounces (300 to 350 g) for about 20 beads)
- Craft knife and ruler
- Wooden skewers
- Open box or deep tray
- Fine sandpaper
- Acrylic craft paint
- Water-based acrylic varnish
- Jute or cotton cord
Twenty beads, a length of jute and a tassel: a bead garland is about as simple as decor gets, which is why small flaws show. Mixed sizes, off-center holes and flat spots from drying on a table make a strand look lumpy. Each has an easy fix, and all of them happen before the clay dries.
What You Need
- Air dry clay, roughly 10 to 12 ounces (300 to 350 g) for about 20 large beads
- Craft knife and a ruler for portioning (adult supervision for the blade)
- Wooden skewers, at least three or four (pointed, so supervise children)
- An open box or deep tray to rest the skewers across
- Fine sandpaper
- Acrylic craft paint in one or two colors, plus a water-based acrylic varnish
- Jute or cotton cord, about 1 1/2 yards (1.4 m), plus extra for the tassel
- A piece of stiff card about 4 inches (10 cm) tall for winding the tassel
Decide the Size and Count
Garland beads are larger than jewelry beads. Around 1 inch (2.5 cm) across is the usual choice: big enough to read from across a room, small enough to dry in a reasonable time. Larger beads look bold but are heavy and dry slowly.
| Bead diameter | Beads for a 24 inch (60 cm) garland | Notes |
|---|---|---|
| 3/4 inch (2 cm) | About 24 to 26 | Light and quick to dry; delicate look |
| 1 inch (2.5 cm) | About 18 to 20 | The standard size for shelves and trays |
| 1 1/4 inches (3 cm) | About 15 to 16 | Chunky; noticeably slower to dry |
The counts assume a knot between beads. Make three or four extra in case some crack or go out of round.
Roll Matching Beads
- Knead the clay briefly until smooth and free of folds.
- Roll it into an even log about 1 inch (2.5 cm) thick.
- Mark the log with the ruler and slice it into equal segments about 1 inch (2.5 cm) long. Equal slices give equal beads.
- Roll each segment between your palms with light pressure until it is round. If a crease appears, press it closed and roll again, since creases can open into cracks as the clay dries.
- Line the balls up, compare, and pinch a little off any that are too big.
Keep the waiting segments under a sheet of plastic wrap so they do not dry out. The same portioning method, along with disc, tube and faceted shapes, is covered in the tutorial on making air dry clay beads.
Pierce and Widen the Holes
- Hold a bead lightly between finger and thumb and push a skewer into the center with a slow twisting motion, as if drilling.
- Stop when the tip just starts to show on the far side. Pull the skewer out, turn the bead around and push in from the other side to meet the first hole. This avoids a ragged blowout where the skewer exits.
- With the skewer through the bead, circle it gently to widen the hole to about 1/4 inch (6 mm).
- Reroll the bead lightly on the skewer to restore its shape, and smooth both hole openings with a fingertip.
Holes shrink a little as the clay dries, and jute is thicker and hairier than it looks. A hole that seems generous in wet clay is usually about right later.
Tip
Check the hole against your actual cord before the clay dries. If a doubled-over length of cord passes through the wet bead, a single strand should thread comfortably afterward.
Dry the Beads on Skewers
A round bead left on a table dries with a flat spot where it rests. To avoid that, thread four or five beads onto each skewer with small gaps and rest the skewers across the rim of an open box.
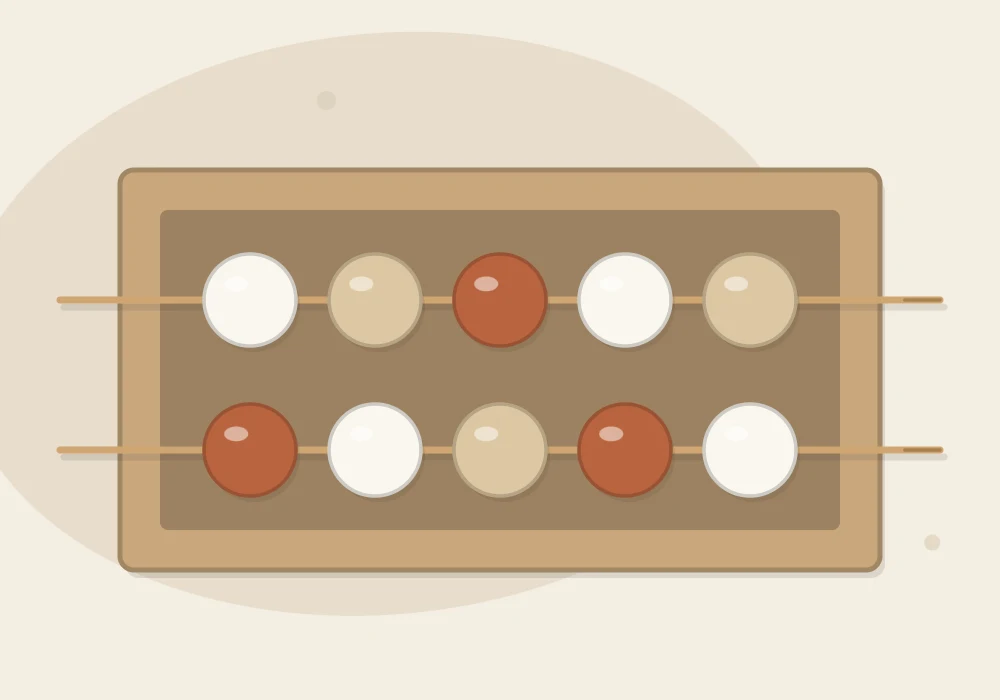
Give each bead a quarter turn on its skewer a few times during the first day. This stops the clay from gripping the wood as it shrinks and keeps the hole open. Leave the box at room temperature, away from direct sun, and do not use heat to hurry things along.
Beads this size often take two to four days, though humidity, airflow and the clay itself all change the timing, so follow the instructions on your clay’s package. The checks for dryness are described in the guide on how long air dry clay takes to dry. A bead that still feels cool or looks darker around the hole needs more time.
Sand and Paint
Dry beads usually have a faint ridge around each hole and the odd fingerprint. Roll each one lightly in a folded piece of fine sandpaper. Sanding produces fine dust, so work outdoors or in a ventilated spot and wipe the beads and the table with a damp cloth when you are done. The grit sequence is explained in the guide to sanding air dry clay.
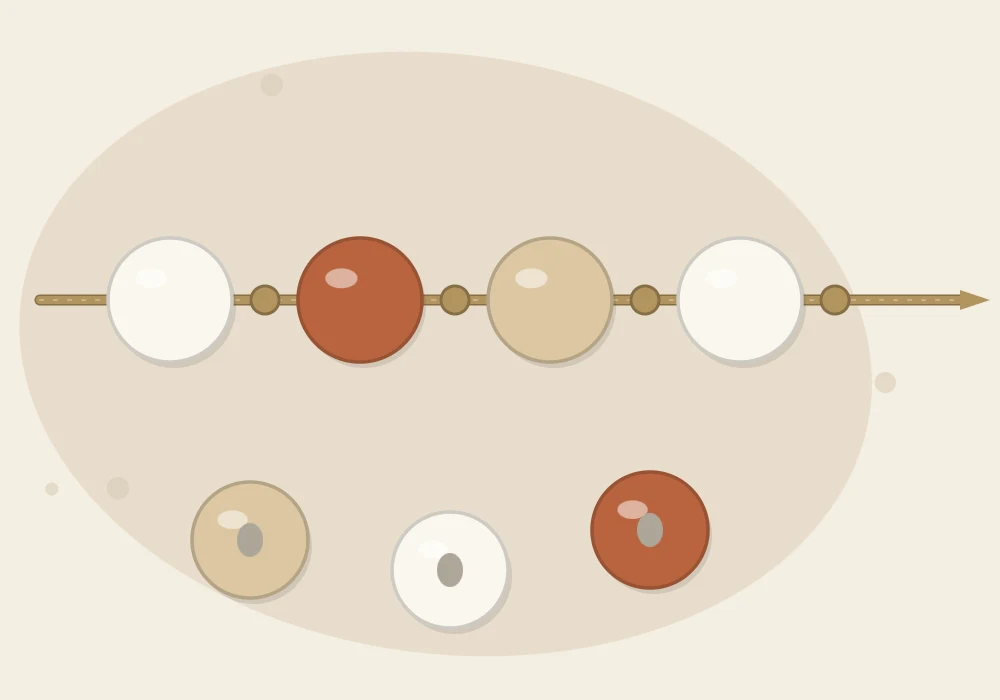
A garland often looks better with only some beads painted: try a third natural white, a third sand and a third terracotta. To paint without fingerprints, put the beads back on skewers, brush on thin coats of acrylic craft paint and let each coat dry before the next. For more on coats and brushes, see how to paint air dry clay.
Finish with a thin coat of water-based acrylic varnish, matte if you want the natural clay look. Sealer adds some resistance to dust and handling. It does not make the beads waterproof.
String the Garland and Add a Tassel
- Wrap a bit of tape tightly around one end of the cord to make a stiff tip for threading.
- Tie a knot about 6 inches (15 cm) from the other end, large enough that a bead cannot slip over it.
- Thread on a bead, push it against the knot and tie another knot snug against its other side. Repeat down the strand, alternating colors.
- For the tassel, wind cord around the card 20 to 25 times. Slip a short piece of cord under the loops at the top and tie it tightly, then slide the loops off the card.
- Wrap another short piece of cord around the bundle about 3/4 inch (2 cm) below the top and knot it. Cut the bottom loops and trim the ends level.
- Tie the tassel to the tail of the garland and finish the opposite end with a loop or a second tassel.
Styling and Care
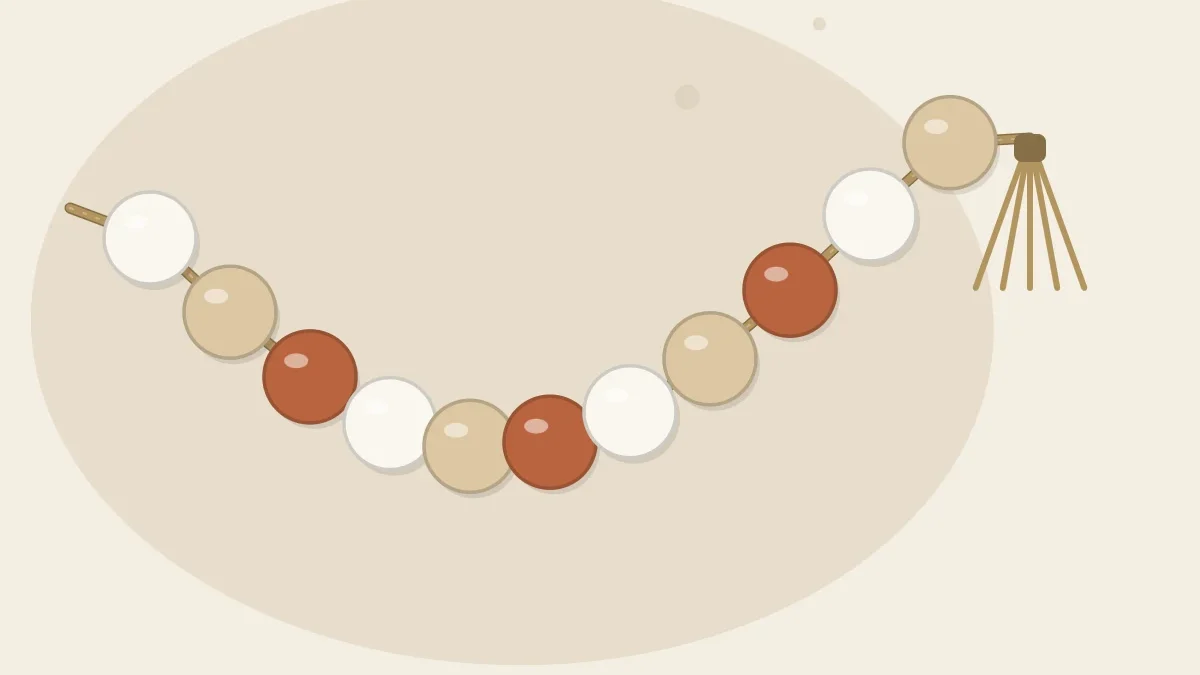
Lay the garland in a loose curve: draped over a stack of books, coiled in a wooden tray, or trailing off the edge of a shelf. It is an indoor, dry-room decoration. Keep it away from sinks, steamy rooms and damp windowsills, because ordinary air dry clay softens with moisture even when sealed. Dust it with a soft dry cloth.
Watch out
Beads are small parts and a cord is a long loop. The garland is a decoration, not a toy: keep it and any loose beads out of reach of young children and pets.
Frequently asked questions
How many beads do I need for a clay bead garland?
For a 24 inch (60 cm) garland of 1 inch (2.5 cm) beads with knots between them, plan on about 18 to 20, plus a few spares.
How do I keep clay beads round while they dry?
Thread them on skewers and rest the skewers across an open box so the beads hang in the air. Turning each bead a little on the first day also keeps it from sticking to the wood.
What cord works best for a bead garland?
Jute gives a rustic look and cotton cord a softer one. Either works as long as the holes were made wide enough before drying, since holes shrink slightly.
Can I use the garland in a bathroom or outdoors?
No. Keep it indoors in a dry room. Ordinary air dry clay softens with moisture, and sealing does not make the beads waterproof.