How Long Does Air Dry Clay Take to Dry?
Drying time depends on thickness, humidity, airflow and clay type. Here are typical ranges, the signs that a piece is fully dry and how to help it dry evenly.
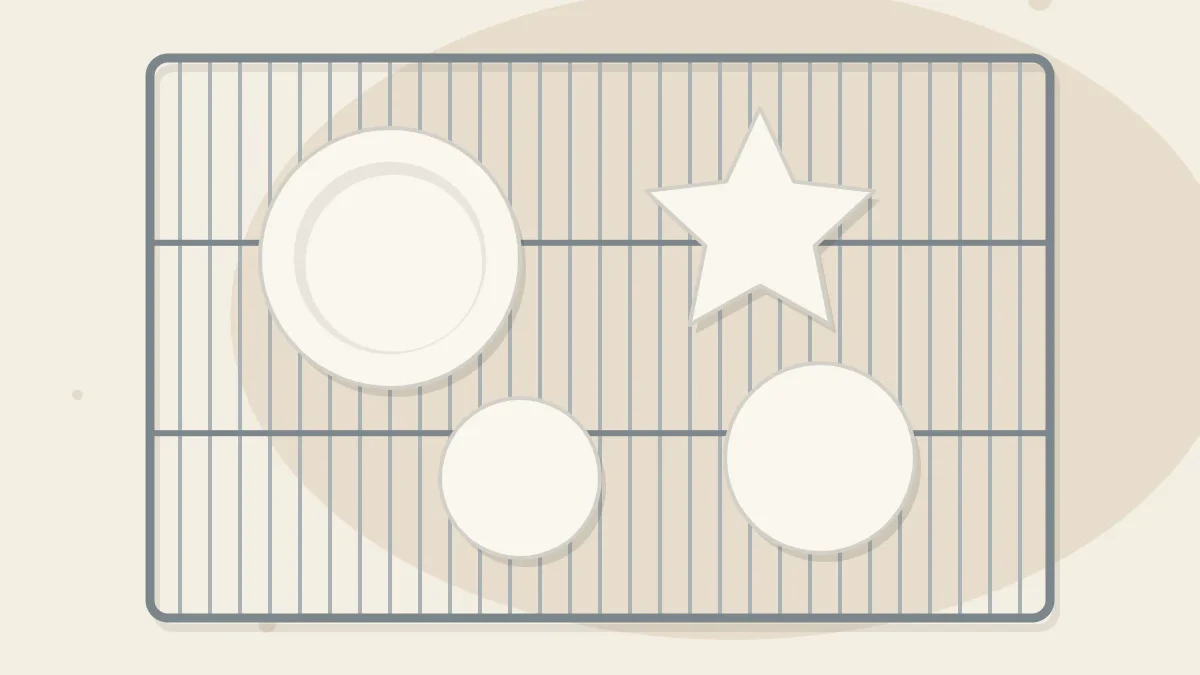
The short answer is somewhere between one day and about a week, and the honest answer is that it depends. A thin gift tag in a dry, airy room may be hard by the next morning. A chunky little figure in a humid house can still be damp in the middle five days later. The instructions on your clay’s package are the first thing to follow, because formulas differ; this guide explains what moves the number up or down and how to tell when a piece is truly ready.
Why There Is No Single Drying Time
Air dry clay hardens because the water in it evaporates. Anything that changes how fast water can leave the clay changes the drying time. Four factors do most of the work:
- Thickness. Water in the middle of a piece has to travel to the surface. Doubling the thickness usually much more than doubles the wait.
- Humidity. Damp air takes up moisture slowly. The same piece can take noticeably longer in a rainy week or in a bathroom or basement.
- Airflow. Gentle air movement around the whole piece carries moisture away. A piece sitting flat on a sealed surface dries only from the top.
- Clay type. Dense earthen-style clays, paper-based clays and lightweight foam-style clays hold and release water differently.
Typical Drying Time Ranges
The figures below are general guidance for pieces drying at room temperature with some air movement. Treat them as rough expectations, and go by the package and by the signs of dryness described further down.
| Piece | Approximate thickness | Often takes |
|---|---|---|
| Gift tags, thin ornaments, small charms | 1/8 to 3/16 inch (3 to 5 mm) | About 1 to 2 days |
| Trinket dishes, magnets, flat decorations | About 1/4 inch (6 mm) | About 1 to 3 days |
| Beads and small solid shapes | Up to about 3/4 inch (2 cm) | About 2 to 4 days |
| Thick or solid pieces, small houses, chunky holders | 1 inch (2.5 cm) or more | Several days, sometimes a week or longer |
Very thick solid lumps are slow and more prone to cracking, which is one reason larger shapes are usually built hollow or over a core. When in doubt, wait an extra day. Nothing is lost by waiting, and quite a lot can go wrong by finishing too early.
How to Tell When a Piece Is Fully Dry
The surface hardens long before the inside does, so a piece that feels firm is not necessarily dry. Check for all of these together:

- Lighter color. Damp clay looks darker and slightly gray. Dry clay turns a paler, chalkier version of its color.
- Even tone. Look at the thickest part and the underside. A darker patch in the middle of the base is the classic sign of a piece that needs more time.
- No cool feel. Hold the piece against the inside of your wrist or your cheek. Evaporating water makes damp clay feel cool; dry clay feels close to room temperature.
- Lighter weight. A dry piece feels noticeably lighter than it did when wet.
- A hard surface. A fingernail pressed gently into an out-of-sight spot should not leave a dent.
Tip
Roll a small test piece from the same clay at the same thickness and dry it next to your project. You can press, snap or scratch the test piece to check progress without touching the real one.
How to Help Clay Dry Evenly
The goal is even drying, not fast drying. When the top of a slab dries and shrinks while the underside stays damp, the piece curls upward. A few simple habits help the two sides keep pace with each other.
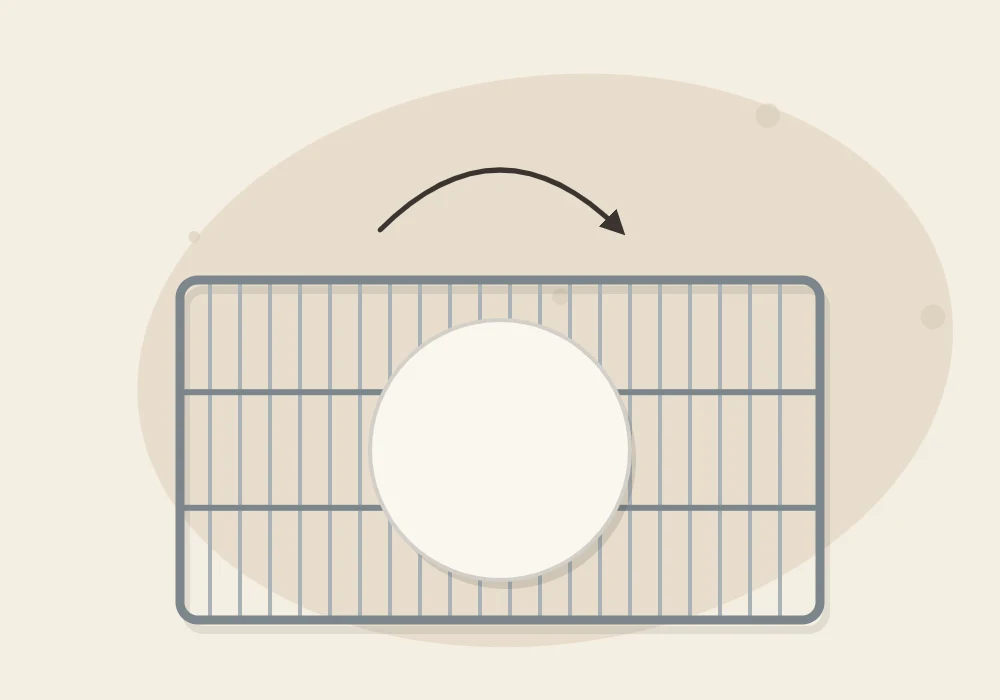
- Start on a flat, slightly absorbent surface. For the first few hours, leave soft pieces on parchment, canvas or a wooden board so they hold their shape.
- Move to a wire rack once firm. When the piece can be lifted without bending, a rack lets air reach the underside. If the wires leave marks, put a sheet of parchment or a piece of mesh between them and the clay.
- Turn pieces over. Flip flat pieces every few hours on the first day and once or twice a day after that.
- Pick a steady spot. A room-temperature shelf with normal air circulation works well. Avoid windowsills in direct sun and places right beside a radiator or air vent.
- Slow down thin parts. If a piece has thick and thin areas, drape a loose piece of plastic wrap over the thin parts for the first day so the thick parts can catch up.
These habits reduce the risk of curling and cracks without removing it. The guide on how to prevent air dry clay from cracking goes further and shows how to repair cracks that do appear.
Why Rushing with Heat Backfires
Speeding things up with strong, direct heat is tempting, and it is a mistake. Heat dries the outer layer very quickly while the inside is still wet. The outside shrinks and hardens around a damp core, and the stress between the two tends to show up as cracks, warped edges or a surface that lifts and flakes.
Watch out
Dry air dry clay at room temperature and follow the manufacturer’s instructions on the package. Do not improvise with household heat sources: the clay is not designed for it, and the usual result is a cracked or warped piece.
If you need a project finished by a certain date, the reliable way to save time is in the making: roll thinner within the range your clay allows, keep the thickness even, build larger shapes hollow, and start a few days earlier than you think you need to.
If a Piece Is Taking Too Long
A piece that seems stuck at damp is usually thick, sitting on a non-porous surface, or drying in humid air. Try these adjustments:
- Move it onto a wire rack so the base is exposed.
- Turn it so the dampest side faces up.
- Move it to a drier room with ordinary air circulation.
- Take it out of any closed box, cupboard or covered container.
- Give it more time. Thick pieces often look finished days before they are.
What Comes After Drying
Full dryness matters most because of what comes next. Paint or sealer applied over damp clay traps moisture inside, which can lead to peeling paint, a tacky finish or cracks that appear later. Wait until every sign above checks out, then smooth any rough edges, working outdoors or in a ventilated spot because sanding makes fine dust, and wiping up with a damp cloth.
From there you can move on to painting air dry clay and, once the paint has dried, sealing it. Sealers have their own drying and curing times, listed on the product label, so allow for those as well before a piece is handled or wrapped as a gift.
Frequently asked questions
Can I paint air dry clay after 24 hours?
Only if the piece is fully dry, which depends on its thickness and the room. Check that the color is light and even and that the clay no longer feels cool before painting.
Why is my clay dry on top but still soft underneath?
The underside has been sitting on a surface that blocks air. Turn the piece over or move it to a wire rack so the base can dry too.
Does air dry clay dry faster in the sun?
Direct sun dries the surface faster than the inside, which often leads to warping or cracks. A room-temperature spot with gentle airflow is slower but gives more even results.
Is it a problem to leave clay drying for longer than needed?
No. Extra drying time does no harm, while painting or sealing too early can trap moisture. If you are unsure, wait another day.